![]()
In this article, you will find steps that will guide you in handling and documenting cancellations of attendees' registrations.
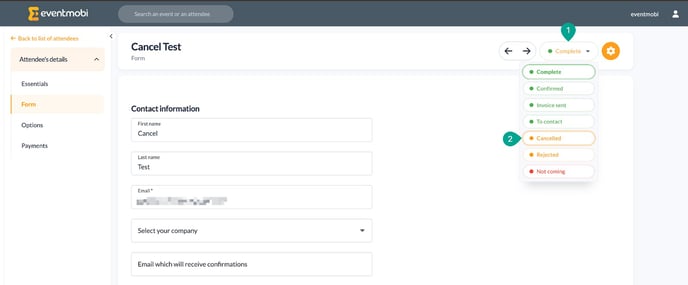
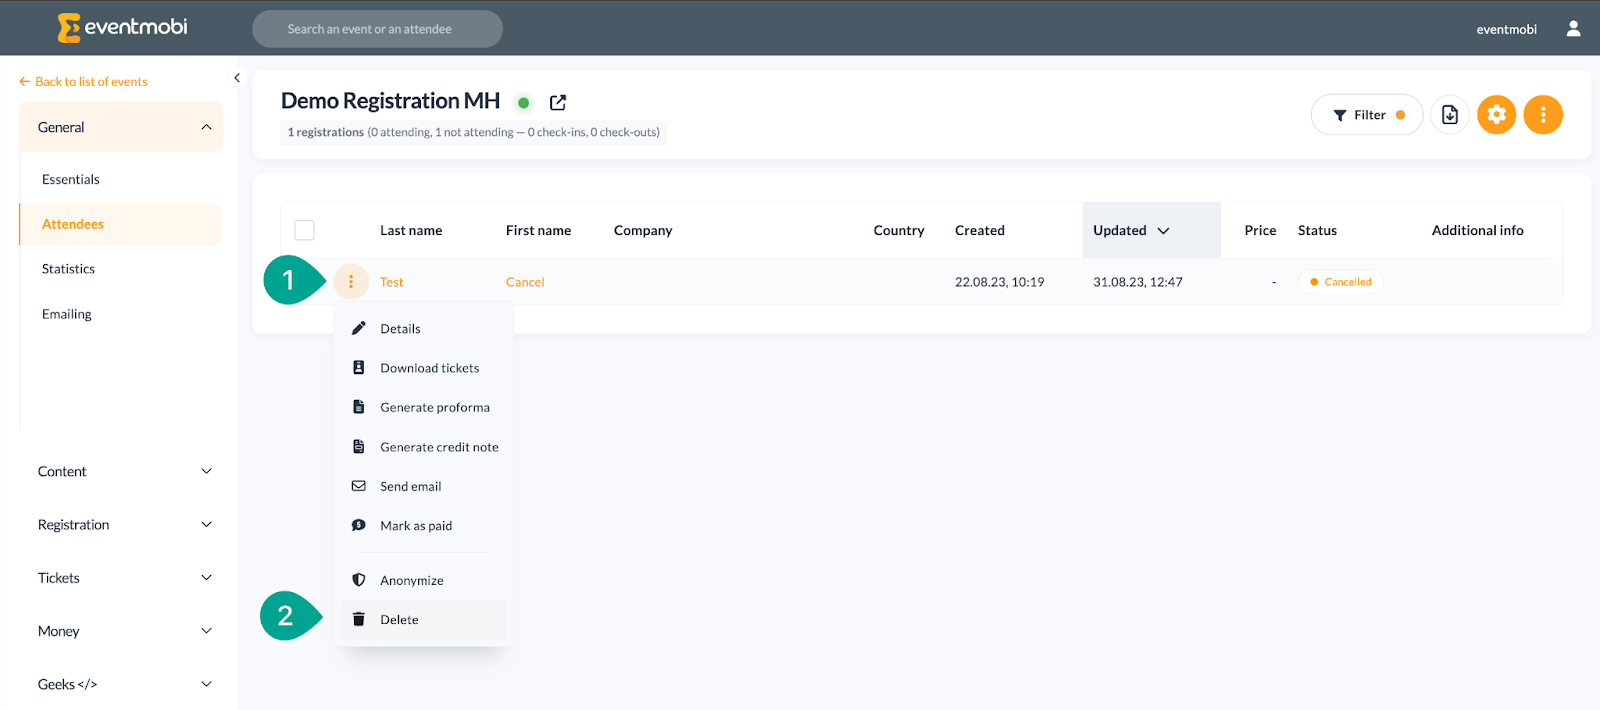
Step 1: Change the attendee’s registration status to cancelled by going to the attendee’s details and select “cancelled” from the drop down in the upper right corner.
Step 2: Process the actual refund in your payment gateway, that is used for your registration.
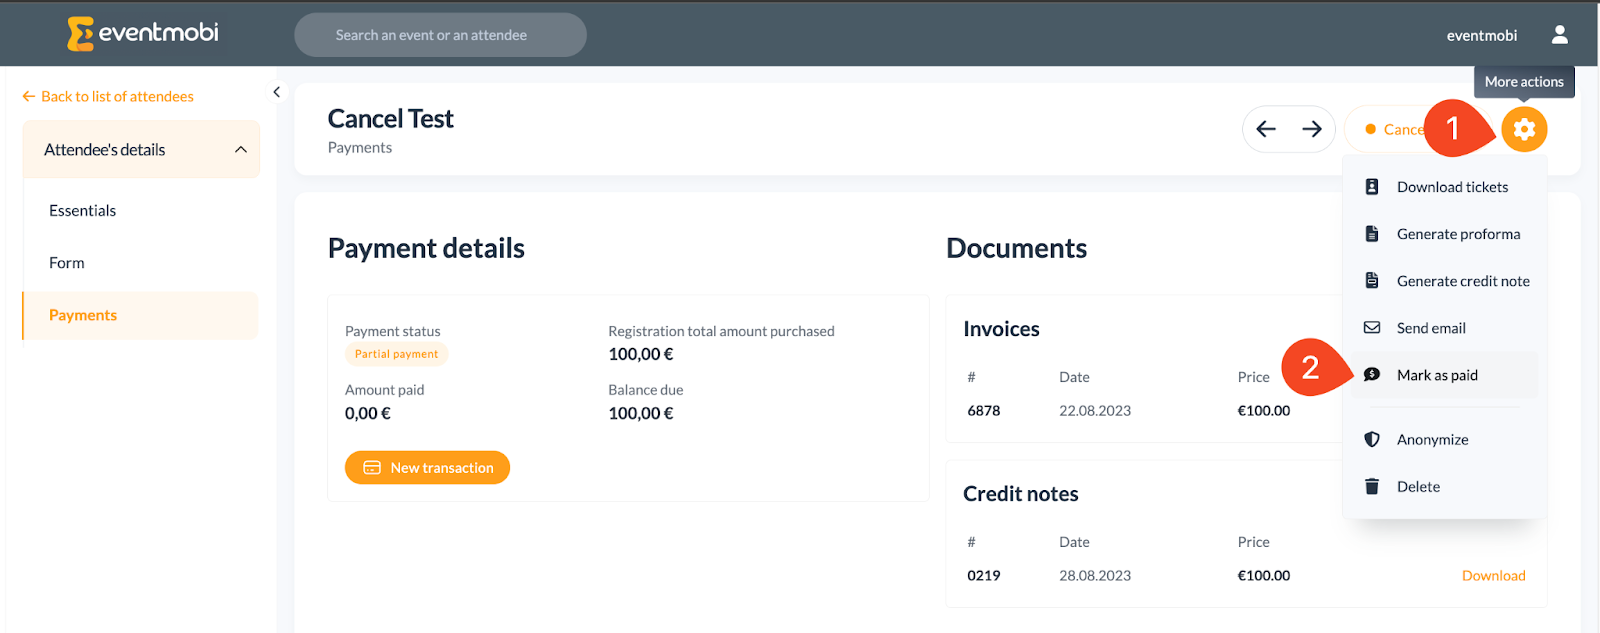
Step 3: Generate a credit note that you can share with your registrants if needed. Therefore, you can click on the gear icon in the upper right corner of the attendee’s details and select “Generate Credit Note”.

The option “generate a credit note” is only needed if an invoice was generated beforehand.
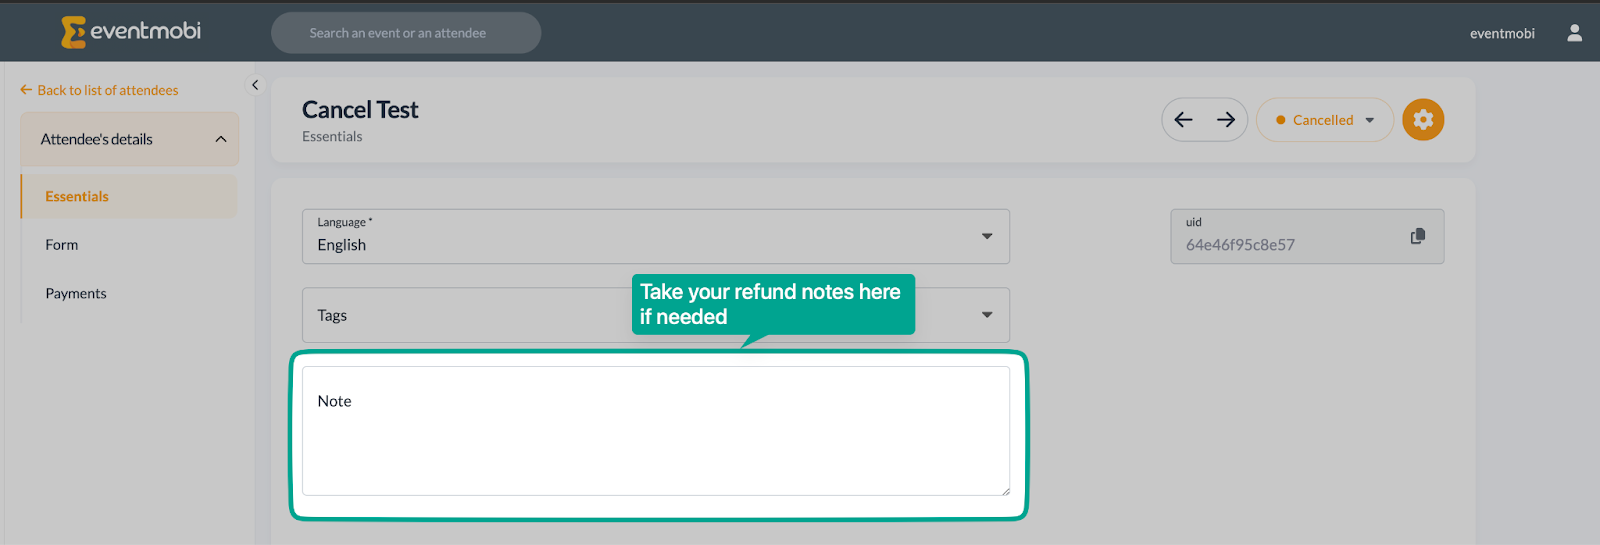
Step 4 (optional): Leave a note in the attendee’s details under Essentials to document the refund.
TIP: Use custom registration statuses to keep track of the refund status, e.g. cancelled not refunded, and cancelled-refunded.
What if an attendee cancelled but hasn’t paid yet?
In this case, the same steps as above apply, but you can leave out step 2 (refund via payment gateway), since the payment hasn’t been processed by the attendee.
What is the process for cancellation of group registrations?
If all registrants within the group want to cancel their registrations, the same steps as above apply. The only difference is that the credit note and payment refund via the payment provider needs to be done for the registration manager of the group.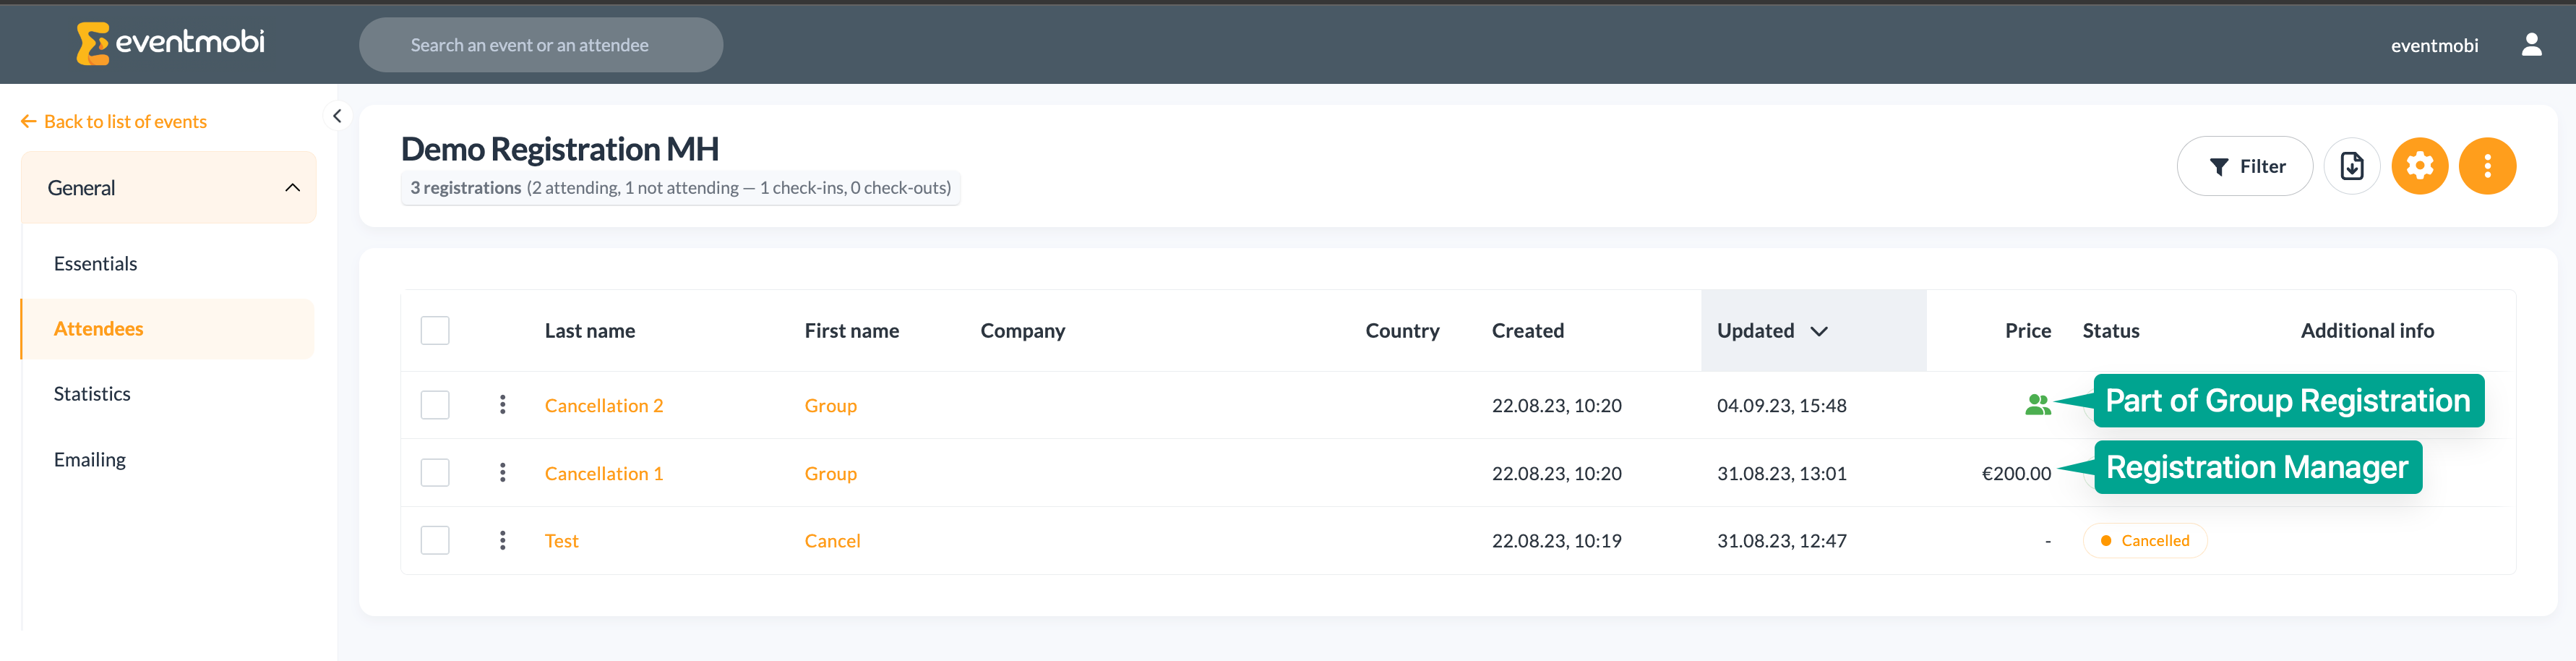
If only a part of the group wants to cancel their registration, this still needs to be done via the registration manager’s details. But instead of generating a credit note (which will apply to the whole amount of all registrations), you will need to add a refund via the payment tab of the registration manager.
Note: The refund function should only be used for handling overpayment, not for cancellation of single registrations itself. A detailed guide on how to use the refund function can be found in this article.
Working with an Active Integration to the Event App
If an integration with an Event App is active, the cancelled registrant will not be automatically removed from the people library. This will need to be done manually after the steps as seen above have been completed.
There are 3 different options you can choose from, both with their own advantages and disadvantages:
OPTION 1
Keeping the attendee, who has cancelled, in the people library, but delete their e-mail-address from their people profile to prevent this attendee from accessing the Event App. Additionally, you can replace the people group “Attendee” to another group, e.g. “cancelled”.
OPTION 2
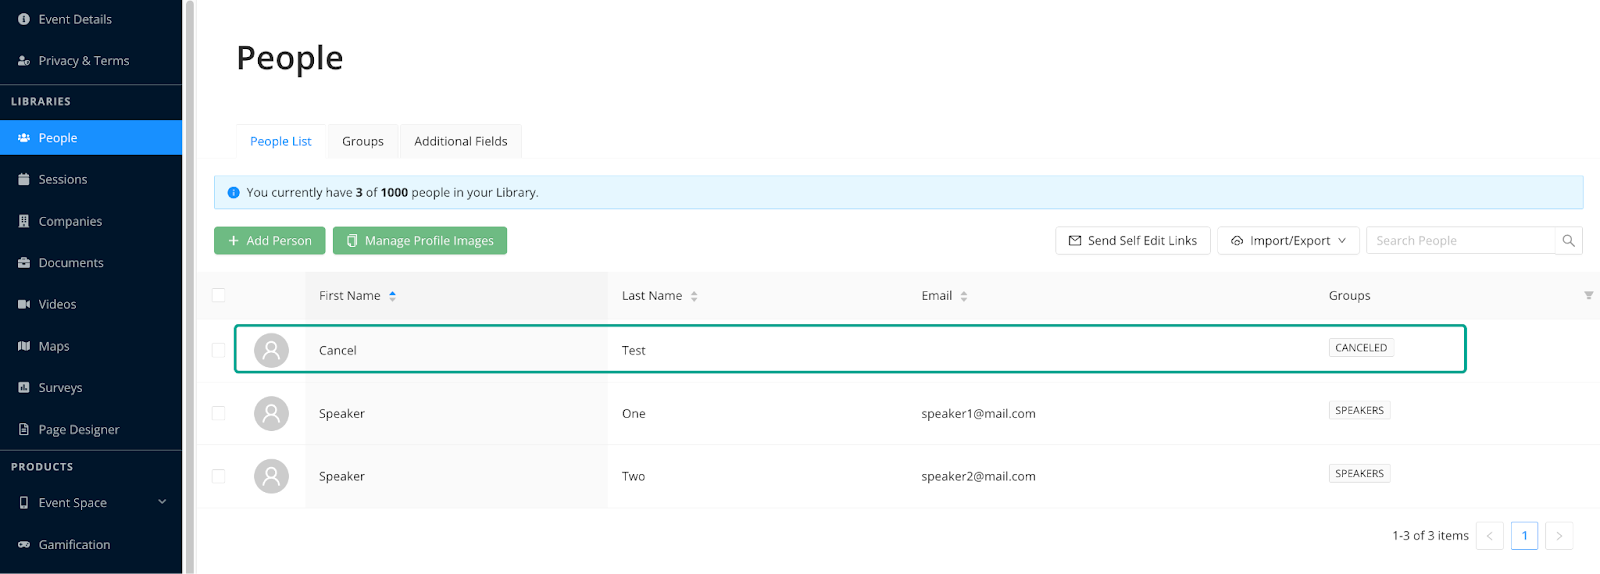
Delete the attendee only from the people library in the Experience Manager.

Warning: We do not recommend deleting any data in the Experience Manager that flows from Registration, since this can affect your integration and potentially cause errors.
OPTION 3
Delete attendee data from your registration’s attendee list. With this method, it will automatically delete the respective people profile in Experience Manager without the risk for potential errors. Before deleting the attendee in the registration backend, you can export the full attendee list for documentation purposes.
Note: You can choose to only send registrants to the people library of the Experience Manager if the payment status is set to "paid".
If you want to enable this setting, make sure you tick the box for "Send webhooks only if attendee's payment status is paid" under Geeks > Integrations.
All free entries will always synchronize instantly.

Important To Note
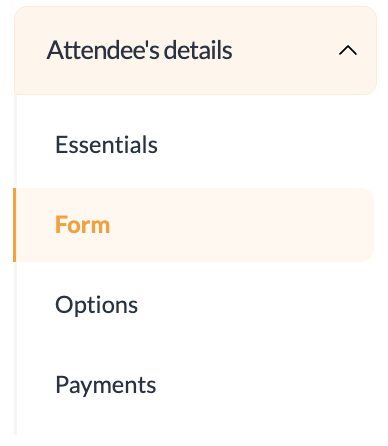
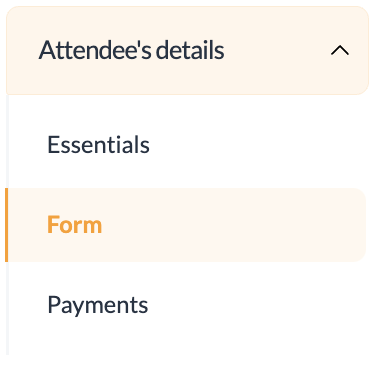
- The amount of categories and options will automatically go back to the contingent for other attendees to be booked. Therefore, the options tab in the attendee’s details will disappear automatically when the registration status is set to “cancelled”, “rejected” or “not coming”.
|
Before registration status is changed: |
After registration status is changed: |
|
|
|
- The amount of “Balance due” under the payments area of the attendee’s details will not change with the registration status (e.g. cancelled). If you want to set balance due to zero, you will need to mark the attendee as paid.
Changing the attendee’s registration status to “cancelled”, “rejected” or “not coming” will hide the icons for price and additional info in the attendee’s list and will therefore remove the “waiting for payment” status, even though the amount of balance due is not zero.