Table of Content:
- Email Campaign Settings
- Creating Email Campaigns
- Sending Email Campaigns
- Email Campaign Analytics
- Announcements & Push Notifications
The Communications area of the Experience Manager is where important updates, reminders and information can be shared with your attendees using Email Campaigns and Announcements.

Email Campaign Settings
Before creating your email campaigns, it is a good idea to update the settings that will apply. In the Settings tab of the Email Campaigns area of the Experience Manager, the following settings can be updated:
- Reply-To Email Address: This will determine the email that should receive any replies to the email campaigns that you are sending out.
- Show Company Address: This allows you to display the address of your company in the footer of the email.
- Show Privacy Policy: This will allow recipients to access the privacy policy within the footer of the email.

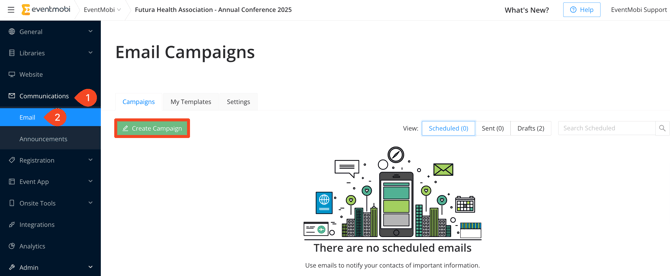
Creating Email Campaigns
Email Campaigns help you to communicate with attendees through every stage of the event lifecycle. These communications can be a great way to launch the Event App, to give teasers on upcoming content and to remind attendees about important timelines and requirements related to the event.
Campaigns can be created manually, or using a template that you have created to keep your branding, design and format consistent across all communications.
- Select the Create Campaign option to get started
- Input a Campaign Name (internal use only) and select Save & Continue
- Use the Content tab to include various content types into your email body, including text, media and calls to action.

- Use the Rows tab to build the layout of the email by customizing where various content items will be displayed.

- Use the Settings tab to update the general settings for your campaign, or for specific content types (when they are selected in the content builder).

- Use the eye icon or desktop / mobile icon to preview what the email campaign will look like from these different device types.
- Save the changes made to the email campaign to save as a draft before sending.
Content Types
Various content types are available to help in sharing information and media within the email body of your campaign.
- Title: Use this option to include a line of text in the email, for example as a header text.
- Paragraph: Use this option to include a body of text into the email.
- List: Use this option to include a numbered or bullet point list of items.

Note: Title and Paragraph fields will offer a rich text menu where you can customize the content you are adding even further. From this area, you will find a Merge Tags option that can be used to personalize the email message by adding data contained in the person's profile fields. Additionally, this will not appear as the actual upon doing a Send Test Email in email campaigns.

- Image: Use this option to include an image in the email body. You can Upload your own image or Search Free Photos that are available to use.
- Button: Use this to create a button that will direct attendees to a URL, send an email, prompt a call or a text message.
- Divider: Use this option to create a line that will help in dividing content in the email body.

- Spacer: Use this option to create an area of space in the body of the email.
- Social: Use this option to include links to social media accounts such as Instagram and LinkedIn.
- HTML: Use this option to customize the email further using HTML. Note: This may effect how the email is rendered.

- Video: Use this to embed a YouTube or Vimeo video into the email body.
- Icon: Use this option to incorporate an icon into the email body. Icons can be changed using an image URL or by selecting Change Image to upload an image file.
- Menu: Create a menu of items that can be hyperlinked to different websites, etc. These menu items can be displayed horizontally or vertically.

- Event Site Button: Add a "Register Now" button that will prompt directly attendee to your Core Registration Website
- Attendee QR Code: Embed each attendee’s unique QR code (badge) directly into your emails, enabling them to check in and/or out.
- Add To Calendar: Use this option to allow attendees to save your event directly to their personal calendars with one click.

Creating Templates
Templates can help to create consistency in all email campaigns that are being sent to attendees by setting a standard for branding, design and format. Visit the My Templates area to build a new template that will be available to select when creating a campaign.

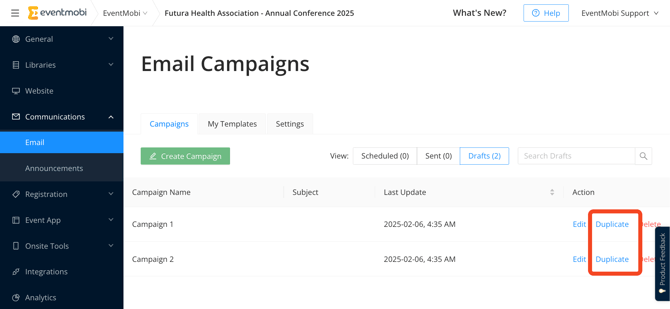
Duplicating Campaigns
A Duplicate option will be available for any campaigns that have been created. Duplication can help to reduce time and effort in creating a new campaign that needs to be adjusted for a new audience or message.
Sending Email Campaigns
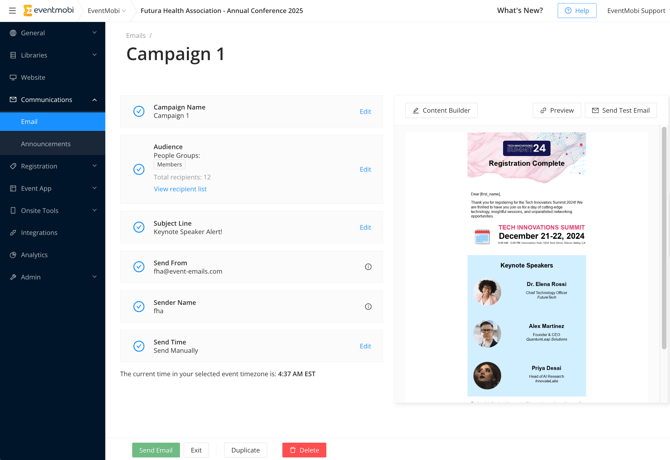
After the email campaign has been saved, select the Exit option to adjust the campaign settings according to who should receive the email and when it should be sent out.
- Campaign Name: This will be pre-populated based on the Campaign Name you initially set when creating a new campaign. This is for internal reference only, but can be edited as needed.
- Audience: This will determine which attendees should receive the email campaign. You can select All People, Specific People Groups or Individuals from the People library.
- Subject Line: This will be visible to attendees and will act as the subject line of the email that is sent out.
- Send From: This will be the email address used in the Send From Email field in the Event Details section of the Experience Manager. You can only change this information on the Event Details page, and it will be used for all communications related to the event.
- Send Time: This will determine when the email campaign is sent. You can choose to Send Manually to have the email campaign send right away, or Schedule a Time to determine what date and time the email should be sent to your audience.
Before selecting the Send Email option, it is best to do a final review of the Preview and using the Send Test Email option. A test email can be sent to multiple people for view by inputting each email address and separating them using commas.
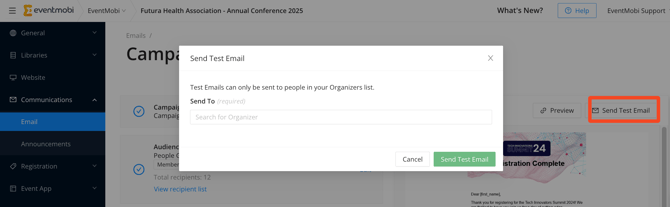
Note: When using the Send Test Email feature:
- Test emails can be sent only to event organizers and collaborators.
- In test emails, the standard email footer will not appear. Instead, you will see “[footer]” in its place.
Email Campaign Analytics
To view the analytics related to your email campaign, select the Sent option from the Campaigns area. This page will outline each campaign and provide some key insights at-a-glance, including the open rate, click rate and bounce rate.
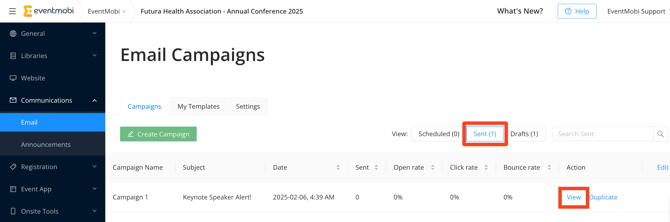
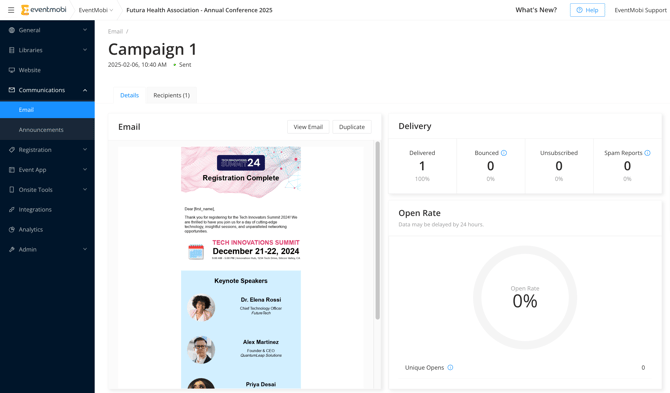
The View option will provide additional insights related to the campaign, including:
- A list of recipients
- Delivery rates (emails bounced, marked as spam and unsubscribed)
- Open rate
- Click rate, along with top clicked inks from the email
The data outlined on this page may be delayed by 24 hours. Please allow this timeframe to view the most accurate analytics related to the email campaign.
Announcements & Push Notifications
Announcements act as an immediate communication that can be used to share important updates and reminders during the event.
Announcements appear as an in-app pop-up notification, and can also be send as a push notification on the user's device when using the EventMobi Universal App or your event's Branded App.
- Select the Announcement option under the Communications area of the Experience Manager
- Click on Send Announcement
- Select which target audience you want to Send To:
- All People
- Specific People Groups
- Individuals
- Input the Subject and Message of your announcement
- Select the checkbox Also send as a native push notification if you would like to send the announcement to the user's device (works with the EventMobi Universal App or your Branded App)
- Set the announcement to Send Now or to Send at a scheduled time

If you'd like to dive deeper into how to send and receive announcements, feel free to check out this article for all the details!