Table of Content:
1. Design Your Login Page Background
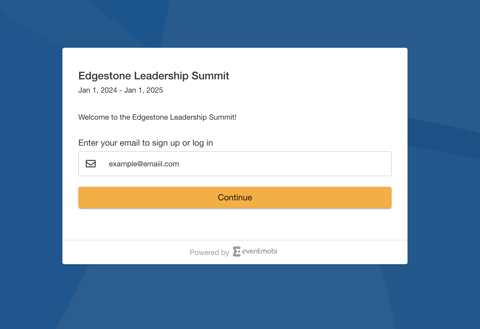
The background for your Login Page can be set from the Event Design Studio area of the Experience Manager. You will have the option to select a Solid Color by making a selection or entering a hex code, or to add an Image.

2. Adding Welcome and Post-Event Messages
A Welcome Message can be added to your Login Page to help with introducing attendees to your event. The Login Area of the Experience Manager will provide you with a text field where you can input up to 300 characters that will display above the email field on the Login Page.
The Login Page area of the Experience Manager will also include a text field that can be used to include a Post-Event Lock Screen Text. This message will display once the Event App has expired, and will notify attendees that the event has ended and they will no longer have access to login.

Note: Organizers will continue to have access to log into the Event App using the Organizer Login option on the Post-Event Lock Screen.

For events created under annual contracts, the Post-Event Lock Screen Text feature is not applicable, as these events remain accessible until the end date of the contract.
3. Login Settings
Various setting options will be available to help you determine who will have access to log into the Event App, and how they will be required to do so. 
- Require Passcode: This setting will require attendees to input a specific alphanumeric code that you have set for the Event App. This setting is recommended for events that are looking for additional security measures that will help with restricting access to specific attendees. Note: Passcodes are not case sensitive.
-
Require people to log in to view the Event Space:
Previously, this setting was always enabled and locked, since the Event App required login under all circumstances. With the latest update, this setting can now be turned off to make the Event App publicly accessible—allowing anyone to view the event without logging in.-
If the Event App is public (i.e., this setting is turned off), the "Allow people to sign up and access the Event App" option will be automatically turned on and locked, so that anyone who chooses to log in can create their own profile and be added to the People library.

-
Important Notes for Public Events:
-
Only content marked with visibility set to "Everyone" will be visible without login. Sections with conditional visibility (e.g., "Attendees only") will not display in public view.
-
Certain engagement features—like private chat, session chat, live polls, or Q&A—require users to be logged in, and will be unavailable to public viewers.
-
Analytics will not accurately track anonymous/public users, which may impact your reporting.
- Allow people to sign up and access the Event Space: This setting allows users without an existing profile to create one and be added to your attendee list. Ideal for open events. (Note: For public events, this will be turned on and locked.)
- Prompt people to complete their profile during first-time log in or sign up: Enable this setting if you would like to have attendees update their profile information during the login process. This setting is ideal if your event is focused on engagement and networking, as it will help to ensure that attendees have fully detailed profiles that others can view.
- Require people to verify their email: This setting will require attendees who are logging into your event for the first time to verify their email.
4. Enabling a Cookie Consent Banner
Cookie consent is a requirement for making your Event App compliant with the European General Data Protections Regulation (GDPR). The Cookie Consent Banner gathers consent from attendees when it comes to their online privacy.
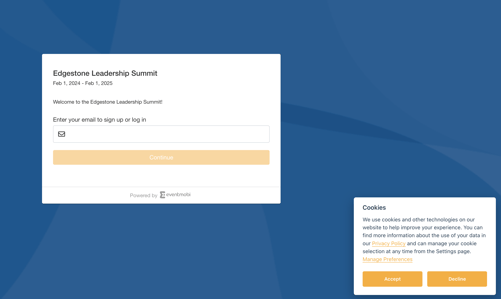
To provide attendees with additional information how their personal information will be captured and used, select the Link to Privacy Policy.

5. Sharing App Download Links
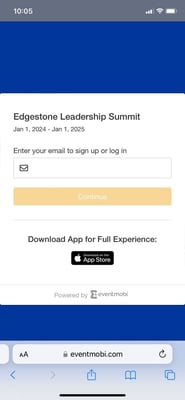
An toggle option to Add app download links when logging in through mobile web will help you to guide to access your event using the EventMobi App. This setting will share links to download the app from the Apple App Store or Google Play Store.
Use the Embed branded app link(s) checkbox to input the download links for your Branded App (if applicable).

|
 |
6. Enabling Single Sign-On Login
The Single Sign-On Connections area of the Login Page area of the Experience Manager is where you can view the settings related to Signal Sign-On (SSO) for your event.
The toggle to Allow anyone to sign up and access the Event Space will permit anyone logging into the Event App using SSO to create an attendee profile. When this toggle is turned off, attendees will only be permitted to log in if they also have a People profile for the Event App.

If your SSO connection has not yet been set, you can visit the SSO Connections area of your Experience Organization to select the Add SSO Connection option. For more information on this process, reference the following Knowledge Base article.