Sessions can be customized using the Image option as the Experience Type. This provides an opportunity to showcase posters and other graphics that help in sharing additional information and branding within the sessions page.
Adding a Featured Image to your Session
- Click into the session that you have added to the Sessions library
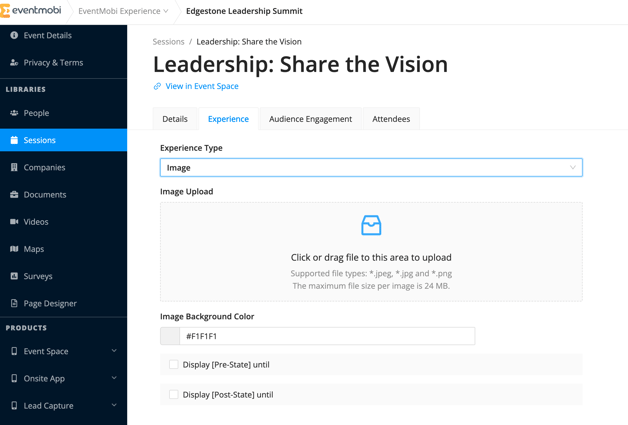
- Click on the Experience tab of the session
- Select the Image option from the Experience Type dropdown menu
- Upload an image that is under 24 mb and in .jpg, .jpeg or .png format
- Update the Image Background Color by selecting a color or entering a hex code
- Select the checkbox to Display [Pre-State] Until if you would like to set a pre-state that will display prior to the session start time
- Select the checkbox to Display [Post-State] Until if you would like to set a post-state that will display after the session end time
Using Pre-States and Post-States
Pre-states and Post-states help you to display the session image according to the start and/or end times of the session. When these options are selected, additional settings will become available:
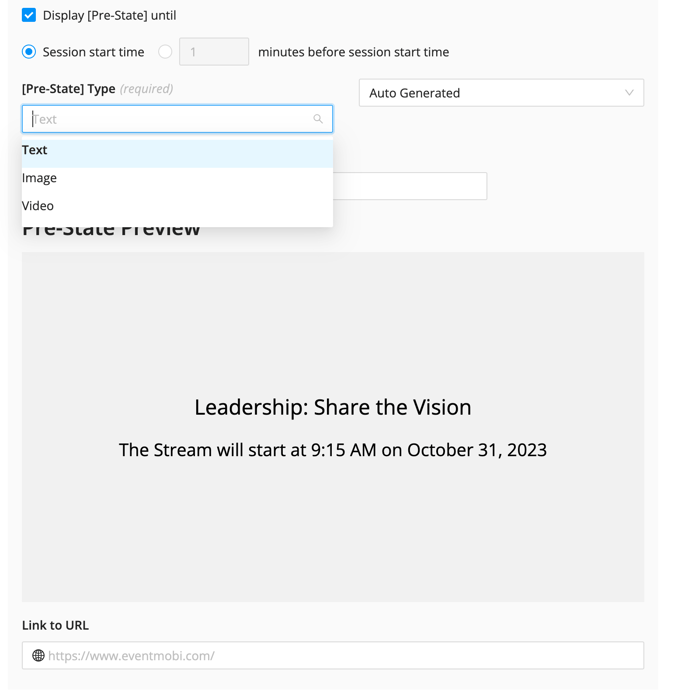
- Set the pre-state or post-state to display at the Session start time or a set number of minutes before session start time
- Select the type of Pre-State or Post-State that you would like to use, text, image or video.
- Text: The Auto Generated option will display the session name, date and times. The Customize option can be selected if you would prefer to input your own text.
- Image: Upload an image in .jpeg, .jpg or .png that is under 24mb.
- Video: Input a video URL to play a video until the session image is set to display.
- If you have selected the Text or Image types you will also have an option to input a URL that will direct attendees to a website of your choice.