
What Are Tracks?
Tracks are used to add a level of organization to your sessions by categorizing them in a way that makes it easier for your attendees to find the sessions they're looking for. These are helpful if you have concurrent sessions that you can use themes or topics to distinguish between.
Within the Event Space, you can view the agenda organized by Time, displaying the sessions chronologically for the day that you're on (and you can click into adjacent days). In this view, tracks appear as coloured labels under the session times.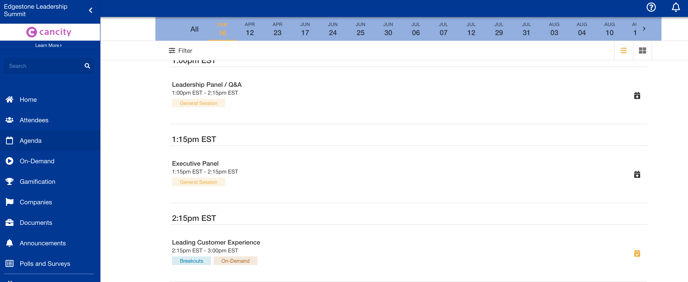
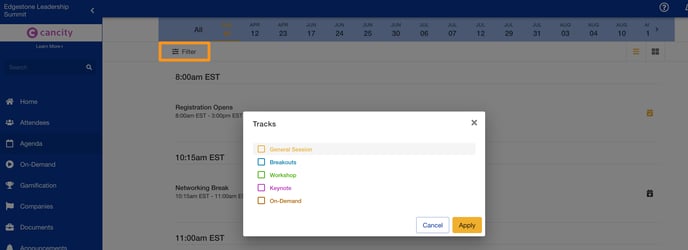
You can also view sessions organized by Tracks using the 'Filter' option available at the top left. After selecting the checkbox of the relevant tracks that you would like to view, the session list will be organized according to the Track, Subtrack, and finally, by Time.
Tracks will display in the Event Space based on the order that they are organized within the 'Tracks' tab of the Sessions library. To change the order in which your tracks display, select the Reorder Tracks option and drag-and-drop your Tracks accordingly.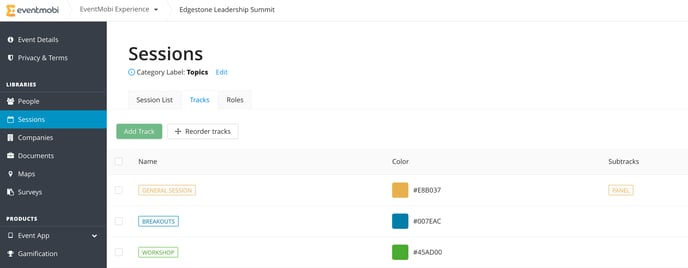
Creating Tracks
To create tracks for your sessions, click on the Tracks tab beside the Session List.
Select the Add Track button to input the Track Name, adjust the Track Colour and to create a Subtrack if needed.
The name, colour and/or Subtrack of any existing Track can also be adjusted using the Edit option available.

If you are planning to use Tracks to organize your sessions, then we recommend creating these before creating your sessions. This small step will make it much easier for you to assign your sessions to Tracks as you are creating them.
Adding Tracks To Your Sessions in Experience Manager
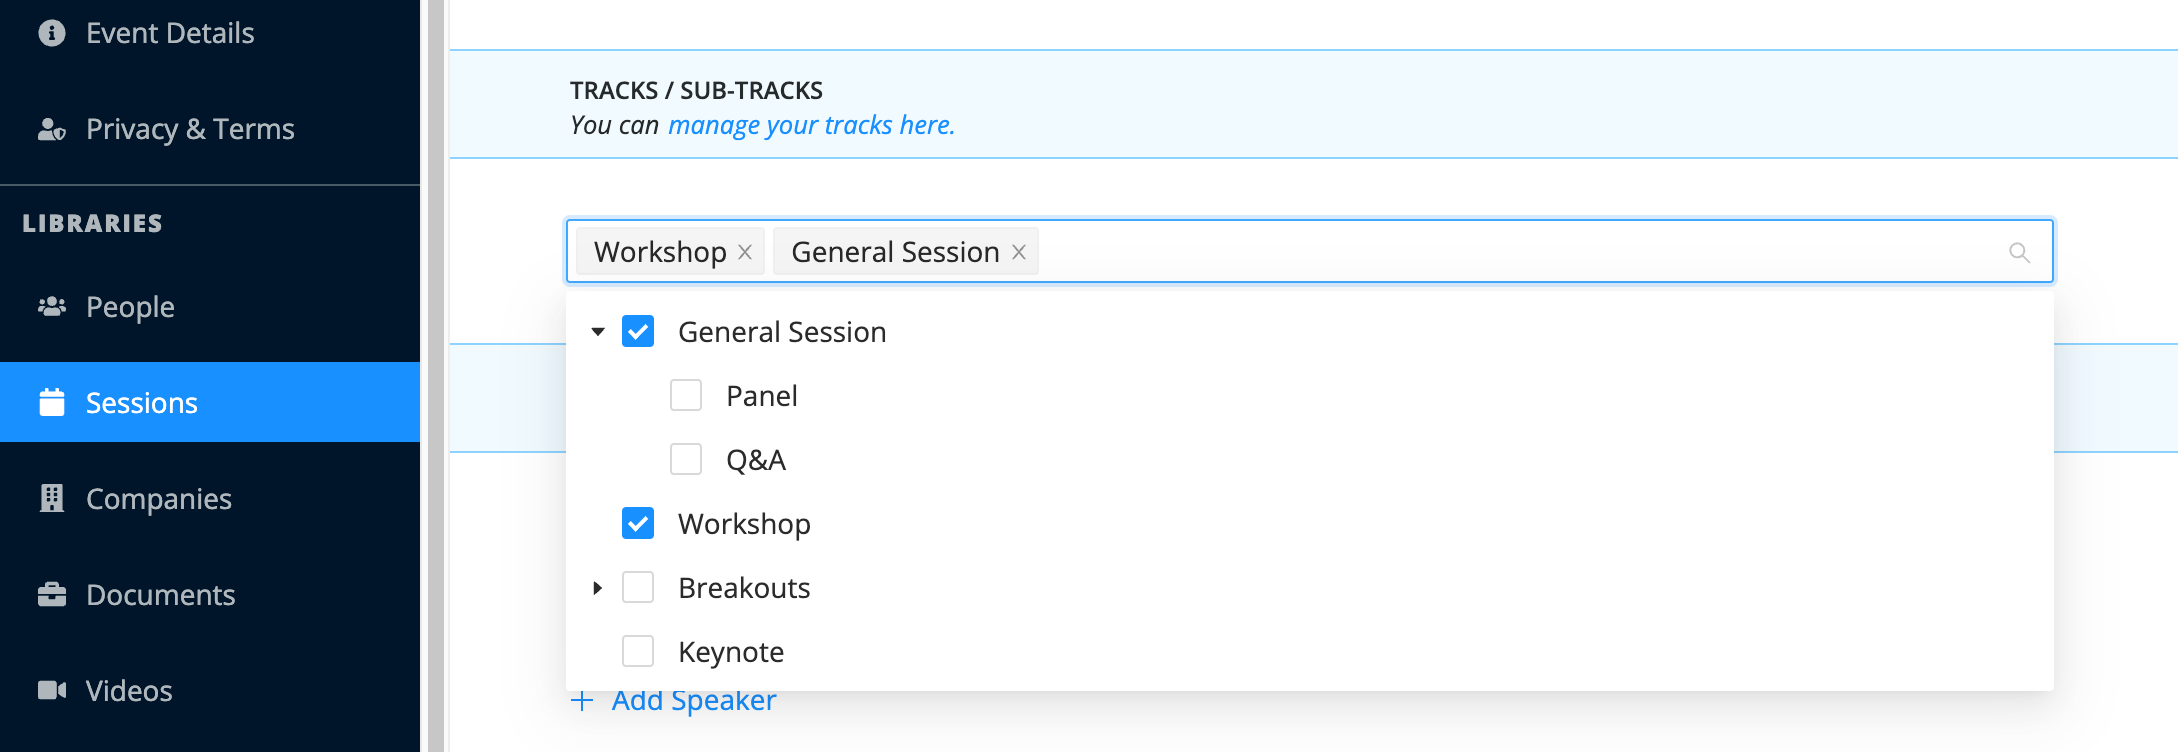
Once you've created your tracks, it's easy to add them to your session as you create them. To do this, just click on the session you want to add the track to, scroll down to the Tracks/Sub-Tracks section, and select the checkbox for each relevant Track within the dropdown menu before saving.
Adding Tracks To Your Sessions Using Excel
If you are importing your sessions using the Excel template offered in the Sessions library, then both your sessions and Tracks can be created at the same time.
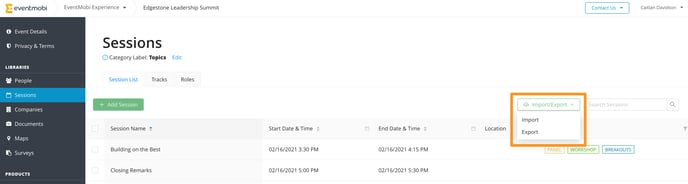
To access the template that you will need to use, select the Import/Export option to the top right-hand side of the Sessions library, followed by Export.
On the Excel template that downloads, you will find a column labelled as Tracks where you can input the name of the Track that you would like to create - doing so will also assign the session to the Track for you. In cases where you would like to assign a session to multiple Tracks, simply separate each Track name using a comma and a space.
To assign a session to a Subtrack, use the following format Track Name::Sub-Track Name. This will create a subsection of your main Track, where the session will be made available to view.
Once you've finished, Save your spreadsheet and click Import/Export and Import your spreadsheet into your sessions library.
Make sure that your Track and Sub-Track names do not contain any commas, as the system will recognize these as separate items.
