Bake APS entitlements for Push Notifications
- Download the aps-entitlements-template.plist file that would be provided along with the build assets.
- Open it and replace {TEAM_ID} and {BUNDLE_ID} with actual values
- Save file as aps-entitlements.plist in the same folder as app.xcarchive
- Run following command in the same folder
# Run this command to find the ID that you should use as {IDENTITY}
security find-identity -v -p codesigning
# Use that identity to sign the frameworks and files
codesign -f -s "{IDENTITY}" app.xcarchive/Products/Applications/App.app/Frameworks/*
codesign -f -s "{IDENTITY}" --entitlements ./aps-entitlements.plist
app.xcarchive/Products/Applications/App.app
Listed below are the options for on how to re-sign your app.
Sign via Xcode - Preferred
-
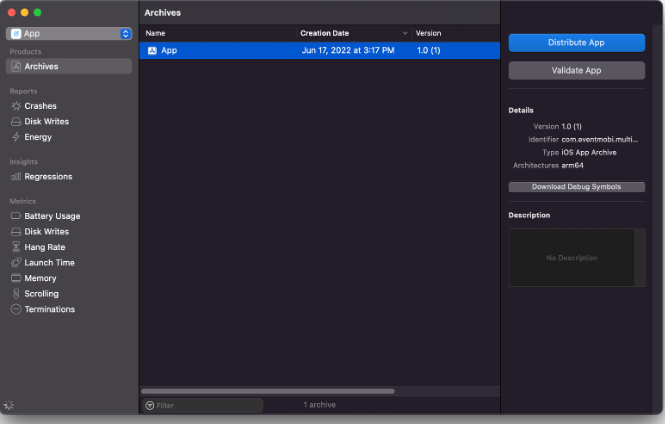
Open the xcarchive - This should open in Xcode Archives (Window → Organizer → Archives)
-
Click Distribute App
-
Select App Store Connect and click Next
-
Select Export and click Next
-
Select your Development Team and click Next. The Development Team must be connected to your App Store account.
-
Wait while Xcode fetches information and signing certificates for the app. This may take a few minutes.
-
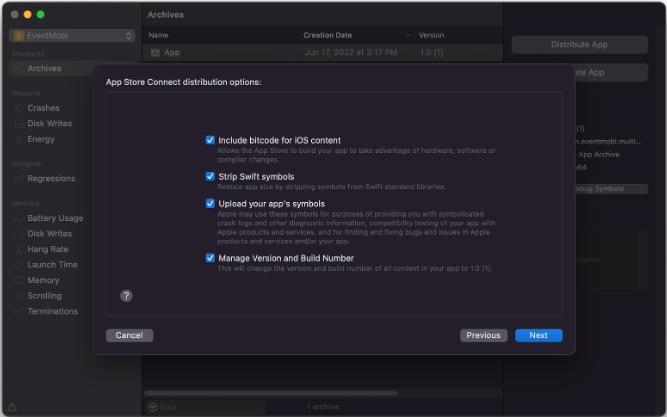
Check all of the options and click Next. If you receive errors in a later step, you can try turning off Include bitcode for iOS content, which optimizes the generated ipa and allows Apple to generate additional builds for each device architecture.
-
Select Automatically manage signing and click Next
-
Wait while Xcode prepares the build. This may take a few minutes.
-
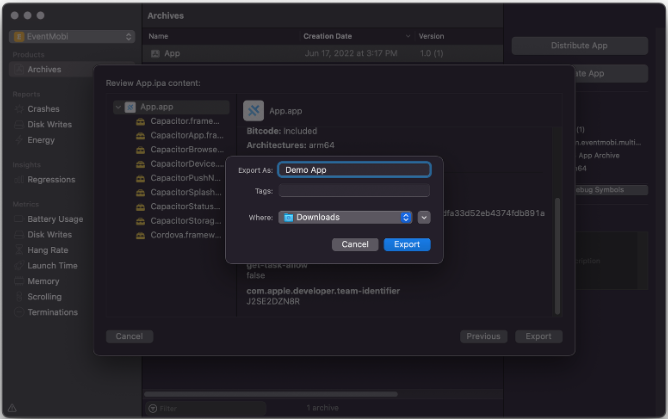
Click Export, provide a name and location, and click Export again.
-
Open the export directory in Finder and you will see an App.ipa, and you can proceed with Uploading to the App Store.
Sign via iReSign
We can use a tool called iReSign to convert an xcarchive into a signed ipa. It is a much simpler process, however it isn’t as thorough or reliable as using Xcode Archives.
-
Download and open iReSign
-
Select the xcarchive (or a signed ipa) and your signing certificate

-
Click ReSign!
-
You will now have a signed ipa beside the xcarchive, and you can proceed with Uploading to the App Store
Uploading to the App Store
-
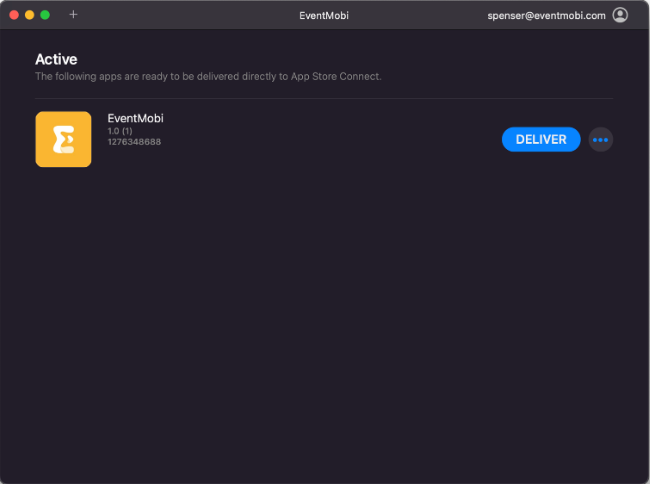
Install Transporter from the Mac OS App Store, open it, and sign into an account that has access to your App Store Connect account
-
Click Add App and select your signed ipa
-
Click Deliver and wait for it to be uploaded.