The Videos Library offers you access to manage video content that you have shared or plan to share through the Event App. In addition to providing you with access to your Live Stream recordings (using the Custom Live Stream or EventMobi Studio Experience Types), you will also notice a Video Storage tab where you can add video content for your event.
Adding Content to the Video Storage Area
Videos can be added to the Video Storage area in two ways:
- Uploading a video file
- Move a Live Stream Recording to Video Storage
Uploading Video Files
The Videos Library will support video uploads of .mp4 or .mov files that are under 10GB in size. While there is no set limit to the number of videos that you can add to the library, there will be a limit in terms of the number of hours of video that can be added (this may depend on the package type that you have selected).

Note: The file size of uploaded videos below 720p will not be displayed at the uploads summary page.
Move Live Stream Recordings to Video Storage
Any live-stream video content that has been delivered using the Custom Live Stream or EventMobi Studio Experience Types will be made available as a recording within the Videos Library within 30 minutes of the video ending. These recordings will be available for download or can be moved to your Video Storage area using the Move to Storage option available.

Adding Videos to your Sessions
Once a video has been added to the Video Storage area of your Videos Library, it can be added to a session within your Event App. When creating or editing your session, you will want to visit the Experience tab to select Pre-Recorded as the Experience Type.
Under 'Video Content' you will find an option for Video Library that allows you to select a video that has been added to the Video Storage area of the Video Library.

Note: Live Stream Recordings will not be restricted to the 10 GB video file limit.
Adding Videos to a Section
Any videos that you have added to the Video Library will also be available to include within a Video Section type. Video sections can be set to display all videos within the library, or set to filter specific Groups of videos. Additionally, you can define which People Groups should have access to the video section within the Event App menu.
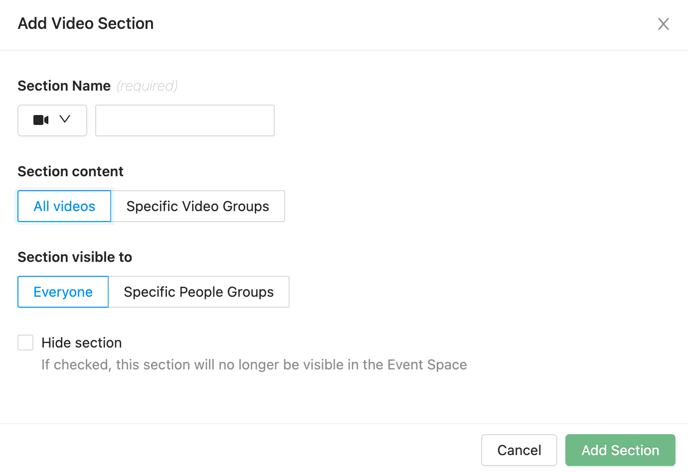
To create your Video Section, visit the Sections area of the Experience Manager and select the Add Section button. From the dropdown list that appears, choose the Video option available, and update the pop-up page with the following details:
- The Section Name and Icon that you would like to display from the Event App menu
- The Section Content that should be made available (All Videos or Specific Video Groups)
- The Section Visibility (Visible to Everyone or just to Specific People Groups)
Adding Videos to your Designer Pages
Another way of showcasing your uploaded videos is by adding them to your Designer Pages located under Event App > Page Designer. Therefore, you can click on Add Widget and choose Video from the drop-down menu.

Select Video Library to access directly your uploaded video files.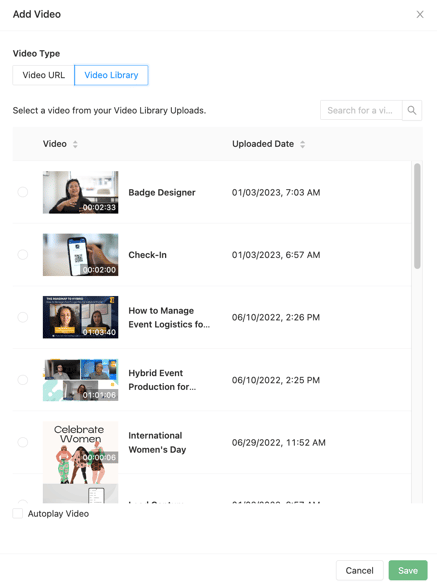
For resizing your video widget, you can easily do so by hovering over the bottom right corner of the video widget and drag-and-drop the widget to your preferred size.

How Long Will Videos Be Available For?
Videos that have been added to your Video Storage will be available for 1 year after the event end date (and post-event access, if applicable).
Live Stream Recordings that have not been moved to Video Storage will expire after 90 days from the date of the live stream.
Note: Videos that have expired will be deleted from the Experience Manager and cannot be retrieved. We recommend downloading any video files that you will need for future reference.