![]()
Table of contents:
Journals - Invoicing settings for your eventsJournals – invoicing settings for your events
Keeping track of your financial records is essential, but with Eventmobi’s Journal feature, you can do so much more. It is a powerful tool that lets you customize your financial documents according to your needs. You have two options to choose from: the Receipt Journal and the Invoices & Credit Note Journal. You can customize the prefixes and data to your liking, making it easier for you to organize your financial records.
But here's the real game-changer: each journal is linked to a profile within Evenmobi Registration, allowing you to assign different journals to individual events. This means you can take control of VAT rules for each event and enhance your financial accuracy. With this feature, you can customize your financial records even further, making them more accurate and efficient. Manage your finances with ease using Eventmobi’s Journal feature.
What Journal type should I create?
To configure a Paid Event, the first step is to link a Journal to your Event. Without linking a Journal, you won't be able to generate any Customer or Financial documents. There are two types of Journals available depending on your needs: the invoice and the receipt Journals.
- I need to create invoices and credit notes only: If you are only using invoices and credit notes, you should create an invoice journal.
- I need to create receipt only: If you only need to create receipts, then you should choose the receipt Journal. This situation can arise if you are creating invoices using a different system.
- I need to create both receipts and invoices & credit notes: If you need to create receipts, invoices, and credit notes, create a receipt journal linked to your event and an invoice journal linked to your receipt journal.
Create an INVOICE Journal
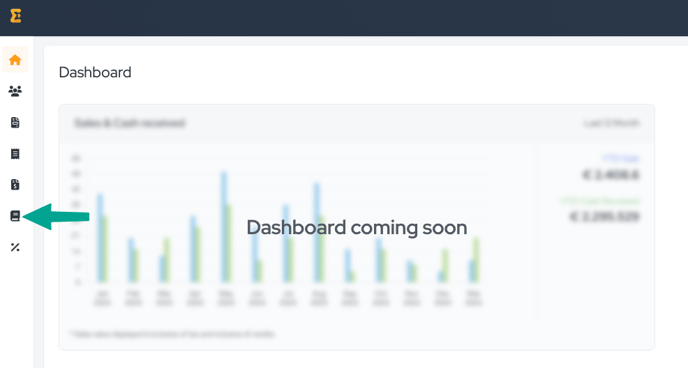
Navigate to the Journals section of the Invoice Module.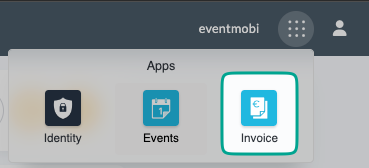
- Click on the “Create Journal” button.

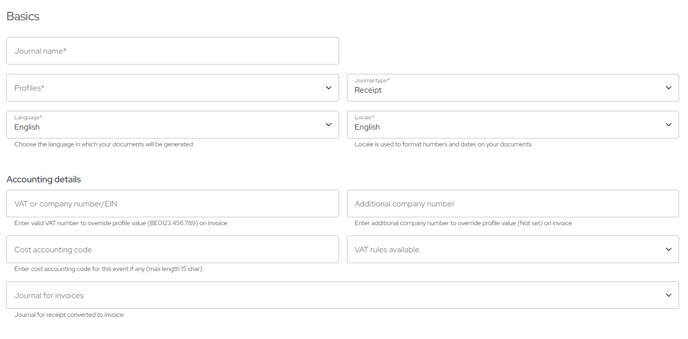
- Fill in the necessary information in the “Basics” section:
- Profiles - This field is mandatory. Select the profile the Journal will apply to.
- Journal type - By default the type is set to “invoice”.
- Journal name - This field is mandatory. Enter the name that will be used for your Journal in the backend.
- VAT or company number/EIN - This field is not mandatory. You can enter a valid VAT number to override the value of the Profile on the invoice.
- Additional company number - This field is not mandatory. You can enter an additional company number to override the value of the Profile on the invoice.
- Cost accounting code - This field is not mandatory. You can enter a Cost accounting code if necessary.
- VAT Rules available - This field is not mandatory. You can link your Journal to the VAT Rules you created earlier. Once linked, you'll have the option to choose from all linked VAT rules when you link your Journal to an Event.

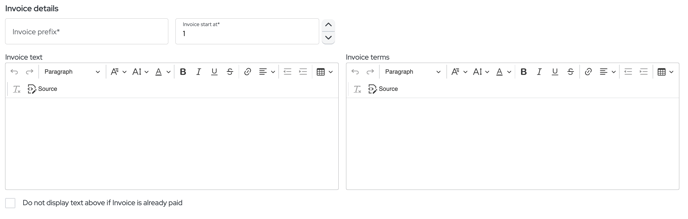
- Fill in the necessary information in the “Invoice details” section:
- Invoice prefix - This field is mandatory. You can define the prefix to use on your invoices. For instance, all your invoices will start with INV-2024 (or the date of your event).
- Invoice start at - This field is mandatory. Specify the starting number for the first generated invoice. By default, the numbering starts at 1.
- Invoice text - This field is not mandatory. You can enter the text you would like to be displayed on your invoices.
- Invoice terms - This field is not mandatory. You can enter the text you would like to be displayed in the terms on your invoices.
Note: If you would like the Invoice text only to be displayed if the Invoice has not been paid yet, click on the “Do not display text above if Invoice is already paid” checkbox.
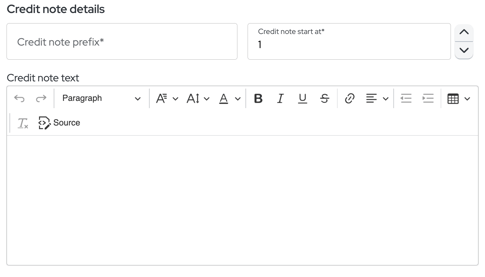
- Fill in the necessary information in the “Credit note details” section:
- Credit note prefix - This field is mandatory. You can define the prefix to use on your credit notes. For instance, all your credit notes will start in CN-2024 (or the date of your event).
- Credit note start at - This field is mandatory. Enter the number that you would like to be displayed on the first generated credit note. By default, the numbering starts at 1.
- Credit note text - This field is not mandatory. You can enter text you would like to be displayed on your credit notes.
Click on the “Save” button.
Create a RECEIPT Journal
Navigate to the Journals section of the Invoice Module.
- Click on the “Create Journal” button.
- Fill in the necessary information in the “Basics” section:
- Profiles - This field is mandatory. Select the profile the Journal will apply to.
- Journal type - By default the type is set to “invoice”. Change it to “Receipt”.
- Journal name - This field is mandatory. Enter the name that will be used for your Journal in the backend.
- VAT or company number/EIN - This field is not mandatory. You can enter a valid VAT number to override the value of the Profile on the receipt.
- Additional company number - This field is not mandatory. You can enter an additional company number to override the value of the Profile on the receipt.
- Cost accounting code - This field is not mandatory. You can enter a Cost accounting code if necessary.
- VAT Rules available - This field is not mandatory. You can link your Journal to the VAT Rules you created earlier, this way, once you link your Journal to an Event, you will have the choice between all the VAT rules linked to the Journal.
- Journal – This field is not mandatory. Link your receipt journal to an invoice journal if you need to be able to create invoices and credit notes as well as receipts.
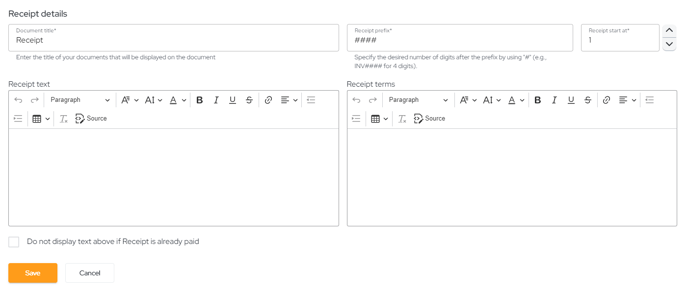
- Fill in the necessary information in the “Receipt details” section:
- Receipt prefix - This field is mandatory. You can define the prefix to use on your receipts. For instance, all your receipts will start with PRO-2024 (or the date of your event).
- Receipt start at - This field is mandatory. Enter the number that you would like to be displayed on the first generated invoice. By default, the numbering starts at 1.
- Receipt text - This field is not mandatory. You can enter the text you would like to be displayed on your receipts.
- Receipt terms - This field is not mandatory. You can enter the text you would like to be displayed in the terms on your Receipt.
NOTE: If you would like the Invoice text only to be displayed if the Receipt has not been paid yet, click on the “Do not display text above if Receipt is already paid” checkbox.
Click on the “Save” button.
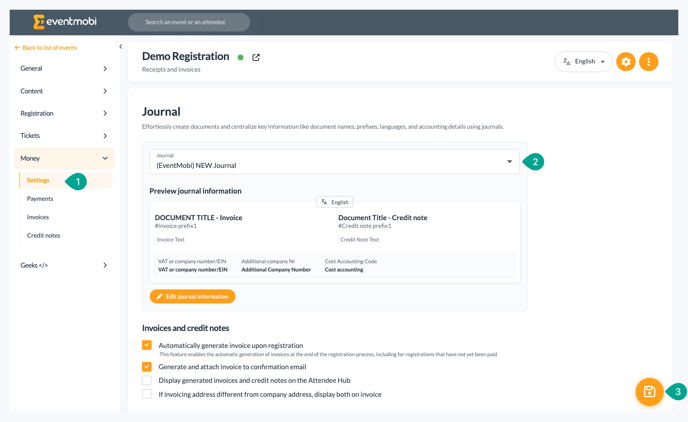
Link your Journal to an Event
Navigate to Money > Settings in your registration backend.
- Choose the Journal you want from the list of available Journals.
- Click on the “Save” button.
Your Journal now applies to the event and all financial information from the event will be displayed in the Invoice Module.
Manage your Journals
Filter your Journal overview
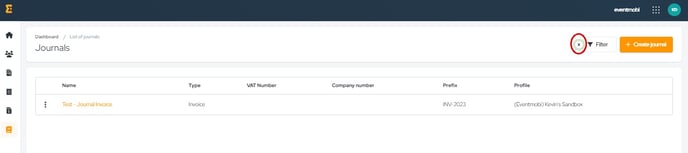
Navigate to the Invoice Module > Journals Section
- Click on the “Filter” button.
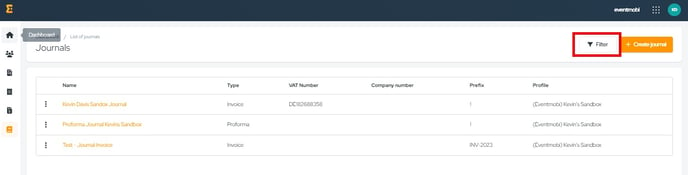
- Specify what criteria you would like to filter on. You can filter on one or multiple criteria.
- Name - This allows you to filter on the name of the Journal
- Journal type - you can choose between an invoice or a receipt Journal type.
- VAT number - this allows you to filter on the VAT number of the Journal
- Company number - this allows you to filter on the Company number of the Journal
- Prefix - this allows you to filter on the Prefix of your Invoices, Receipts, or Credit notes from the Journals.
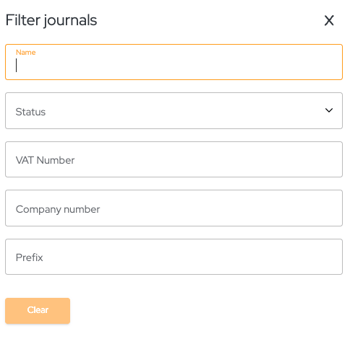
All fields are free fields, except for the Journal type which is a choice list, meaning that you can type in letters for your research. For the choice list, you need to select an entry that you would like to filter on.
No need to save, your changes are directly applied.
All attendee and event merge fields are now accessible in the journal settings, allowing you to include any type of information on invoices, credit notes, and receipts.
Remove filters
- Click on the cross next to the “Filter” button.
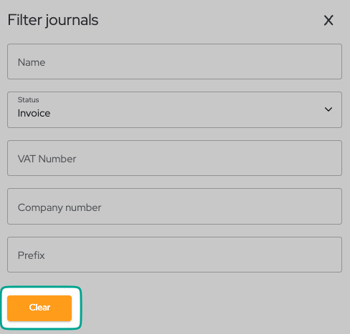
- Click on the “Filter” button

- Then on the “Clear” button to clear your filters and to display the complete list of Customers.
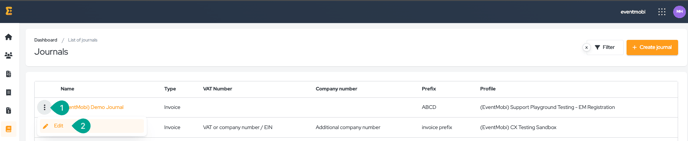
Edit a Journal
- Click on the name of your Journal.

OR
- Click on the three-dots button.
- Click on “Edit”.
Delete a Journal
- Choose the journal you wish to remove.
- Select the gear icon located in the top right corner.
- Click on “Delete”.
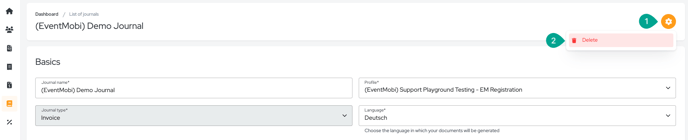
Once deleted, journals cannot be recovered.