![]()
In order to set up a registration that works through invitation only, you will need to work with registration codes.
There are two options from which you can choose from:
- Personal codes: We suggest using this method if you would like to send personalized email invitations through our registration solution and make the experience for the attendees more personal and also ensure that attendees cannot share the codes with third parties.
- General code: We suggest using a general code if you are sure that your attendees will not share the code with third parties, and you will use an internal solution to invite attendees.
Using Personal Codes
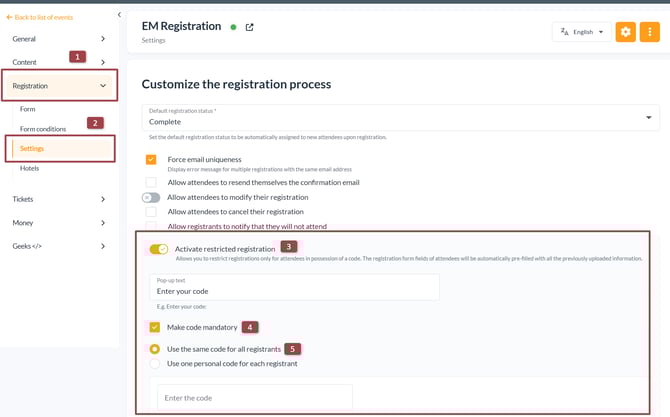
To create your registration codes visit the Settings page found under the Registration area of your EventMobi Registration platform. On this page, you will find a toggle to Activate Restricted Registration. To make this code a mandatory step in the registration process, make sure to also select the checkbox to Make code mandatory.
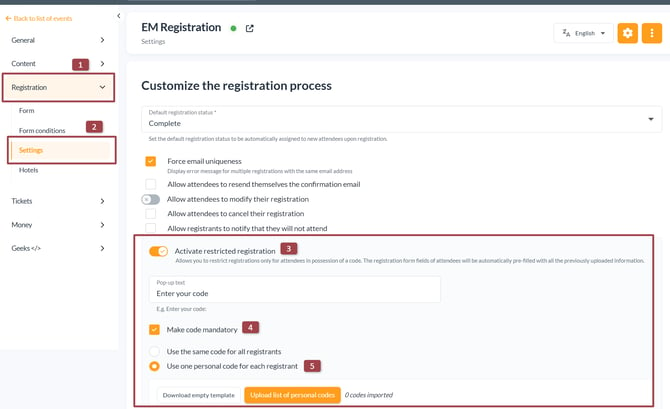
Select Use one personal code for each registrant to create a unique code for each registrant using a template that can be downloaded and imported into the platform.
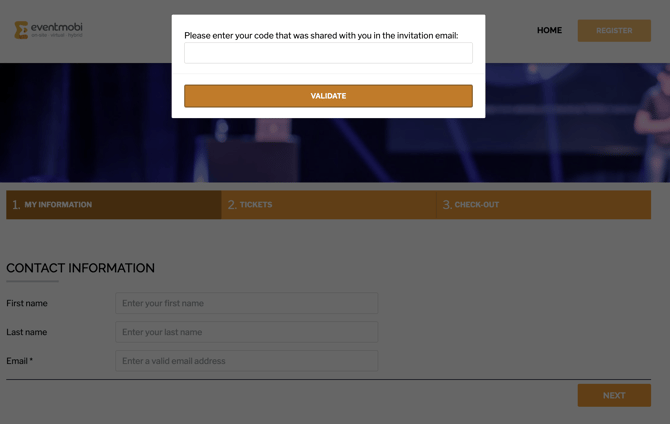
When activating your registration code(s), you will also have the option of adjusting the Pop-Up Text that will display when someone is registering for the event. 
Let's say for example that you add this sentence "Please enter the code that was shared with you in the invitation email:" this will be displayed in the following way on the registration process:
When opting to use personal codes for each registrant, you will need to work with an Excel template that is offered to outline the codes that will apply to each person who will be registering for the event. You will need to first download the empty template.
Once you've obtained the template, you can commence entering the desired attendee information for your invitations.
NOTE: Every registration code you assign must be unique for each individual, as it is a one-time-use credential. We strongly advise against using easily guessable personal codes, such as email addresses, for two key reasons: security and prevention of unauthorized access.
Assigning easily guessable codes, like email addresses, poses a security risk. If such codes are known to a third party, there is a potential for unauthorized registrations, circumventing the mandatory code request. To enhance the security of your registration process, we recommend utilizing unique and less predictable codes for each individual.

Once the Excel template is complete, you can upload the information using the Upload List of Personal Codes button available. Once the upload is completed, you will receive an email notification.
Note: You may notice additional registration fields that you have created on the template that is downloaded. These fields do not need to be populated and can be left blank.
Accessing your List of Attendees / Pre-Registrants
Next to the Upload button, you'll notice a count of imported codes. This count corresponds to individuals who have pre-registered for the event but haven't completed their registration yet, aligning with the number of attendees in your Excel file.

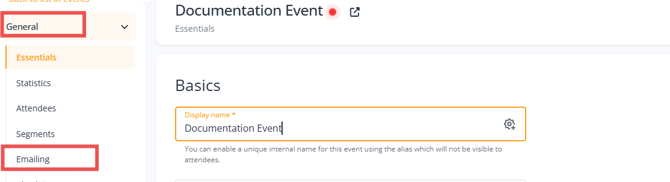
People that you have included in your uploaded list will appear in your List of Attendees which can be accessed within the Attendees page of the General area of your EventMobi Registration platform.
Your list can be narrowed down to display those that have been uploaded by filtering based on the status of Imported/Pre-Registrations.
Note: Once a person has registered for the event, their status will be updated to Registration Complete automatically.
Tips for Using Registration Codes
- A unique code can be anything of your choosing. A few common examples are Badge Number, or Student/Employee ID.
- Registration Codes should be shared with your registration invitations.
- Codes can be used to allow a limited number of registrations for a select group (i.e. 10 tickets available to an organization).
Sending Invitation Emails
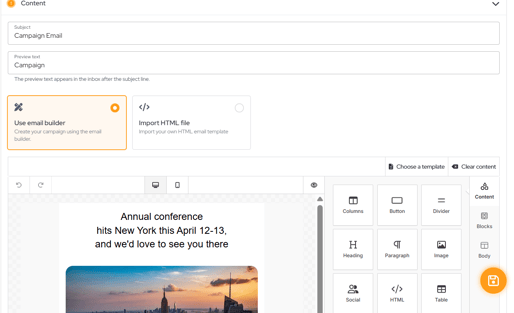
Once your list of attendees and codes has been uploaded to the EventMobi Registration platform, the next step will be to prepare the invitation email that you will send.
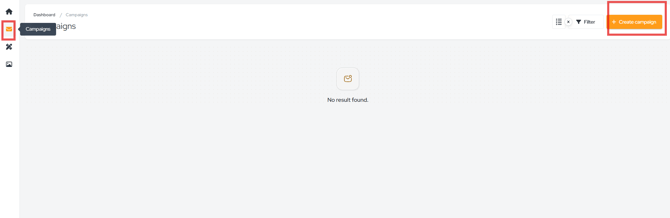
- Visit the Emailing page of the General area of the EventMobi Registration platform
- Select the Add Campaign option at the top right-hand side
- On the pa
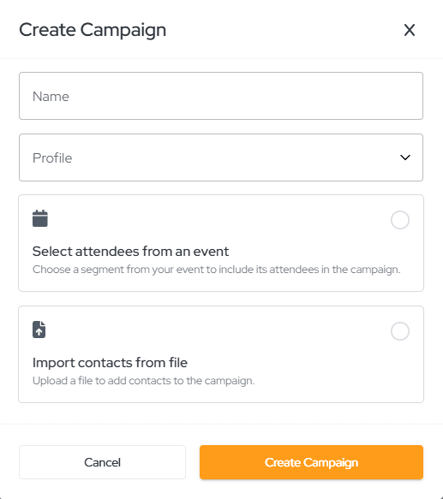
Note: All imported attendees will be set to Imported/Pre-Registrations status, so updating this field will allow you to ensure you are capturing all attendees who should be invited to register.
- Depending on the information that you have pre-filled in the Excel template that was uploaded, you can also choose to filter the email by Segments
- When inputting the content of your invitation email, select the {} icon and select the Registration Code option from the menu available - this is especially important if you have set the registration code as mandatory
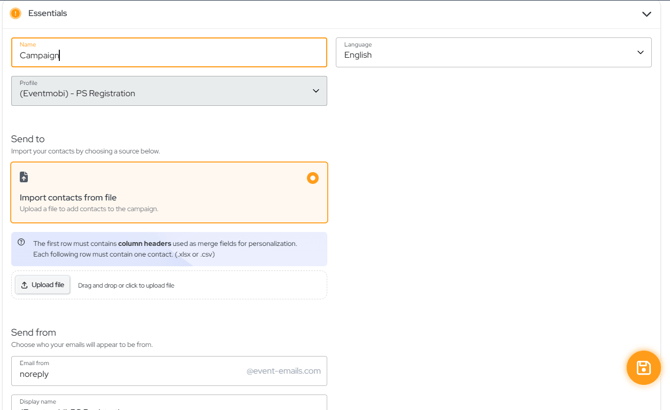
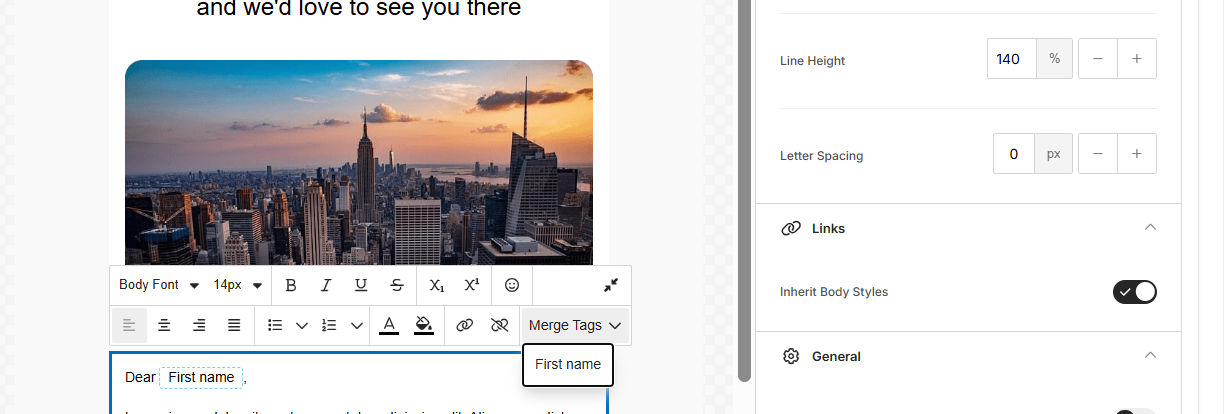
- Using Merge Tags, you can also include other personalized details such as first and last name
- Use the Source tab with HTML to incorporate other elements, such as a header image
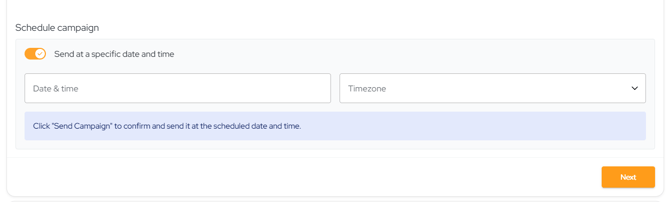
- Make sure to Save your updates
Using A General Code
Select the option Use the same code for all registrants to create a single code that will be distributed to all registrants for your event.