![]()
Part of the build process for your registration site will be to create a design that showcases the branding for your event and/or organization. Follow the instructions and recommendations listed below to make the most of your registration site's design.
Choosing Your Images
Before you select the images that you will use for your registration site, make sure to review the required sizing - this will be a critical step to making sure that your images fit correctly and display as best as possible within the design you are creating.
If you are creating custom images with a Graphics team, they will need to be aware of the different image types and sizes that will be needed to complete the design of your registration site.
| Cover Image | 1920px by 720px, maximum file size 12 MB |
| Additional Pages Banner | 1920px by 240px, maximum file size 12 MB |
| Automatic Email Banner | 619px by 200px |
| Buttons | 250px by 60px |
Note: Images you are using for your registration site should be in one of the following supported file types: .jpeg, .jpg, .gif, or .png.
Adding Images Using the Rich Text Editor
Images can be added to various pages of your registration site using an image URL within the rich text editor. If you do not have an image URL available and are working with an image file, you can follow the steps outlined below to upload your image and create a unique URL that can be used for this purpose.
- Visit the Content area of your EventMobi Registration platform
- Access the Files tab
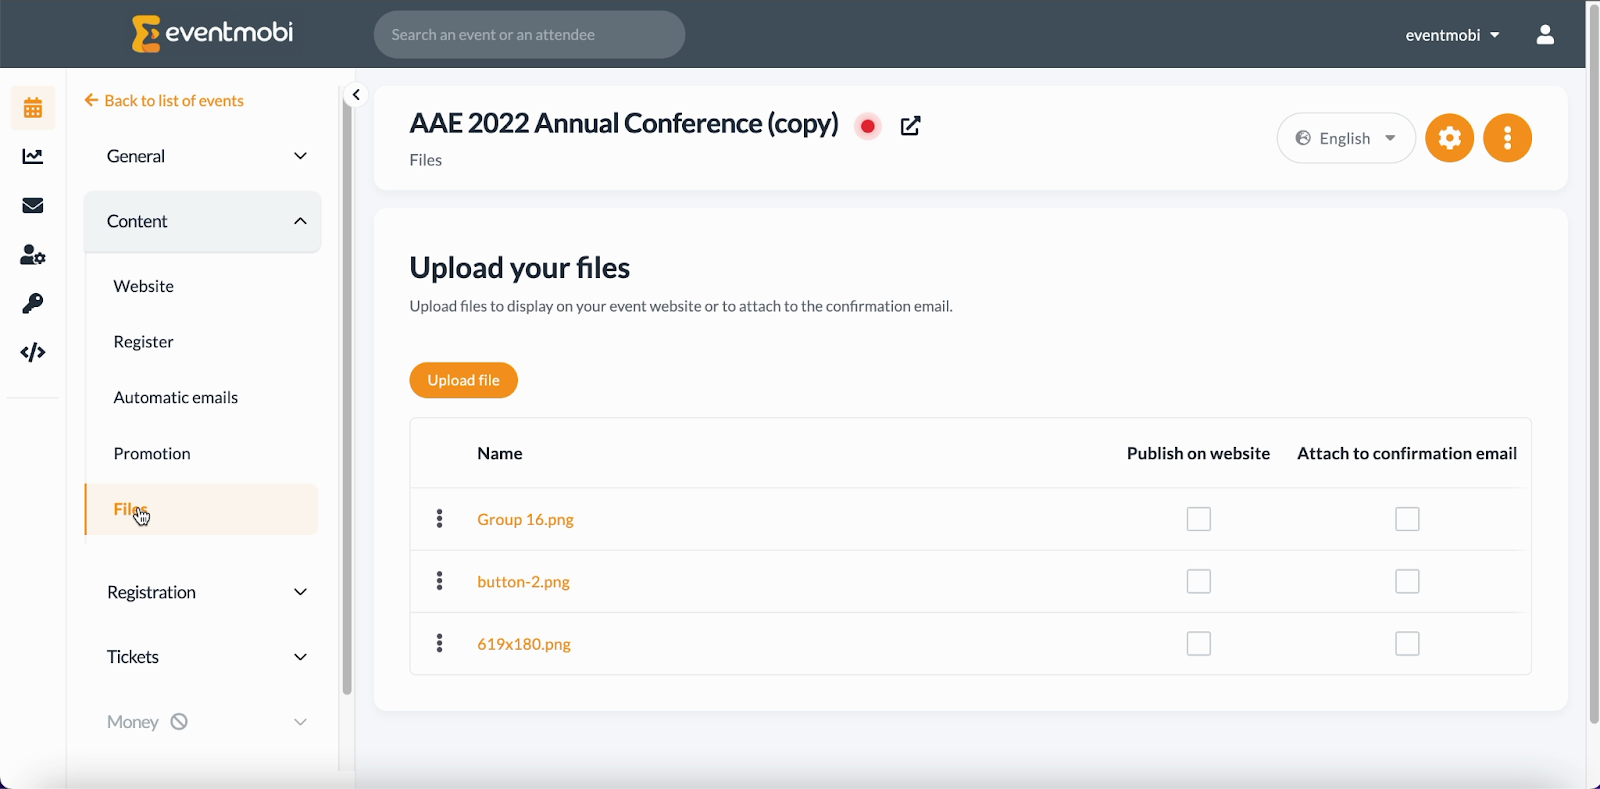
- Select Upload Files and select the image file that you wish up use
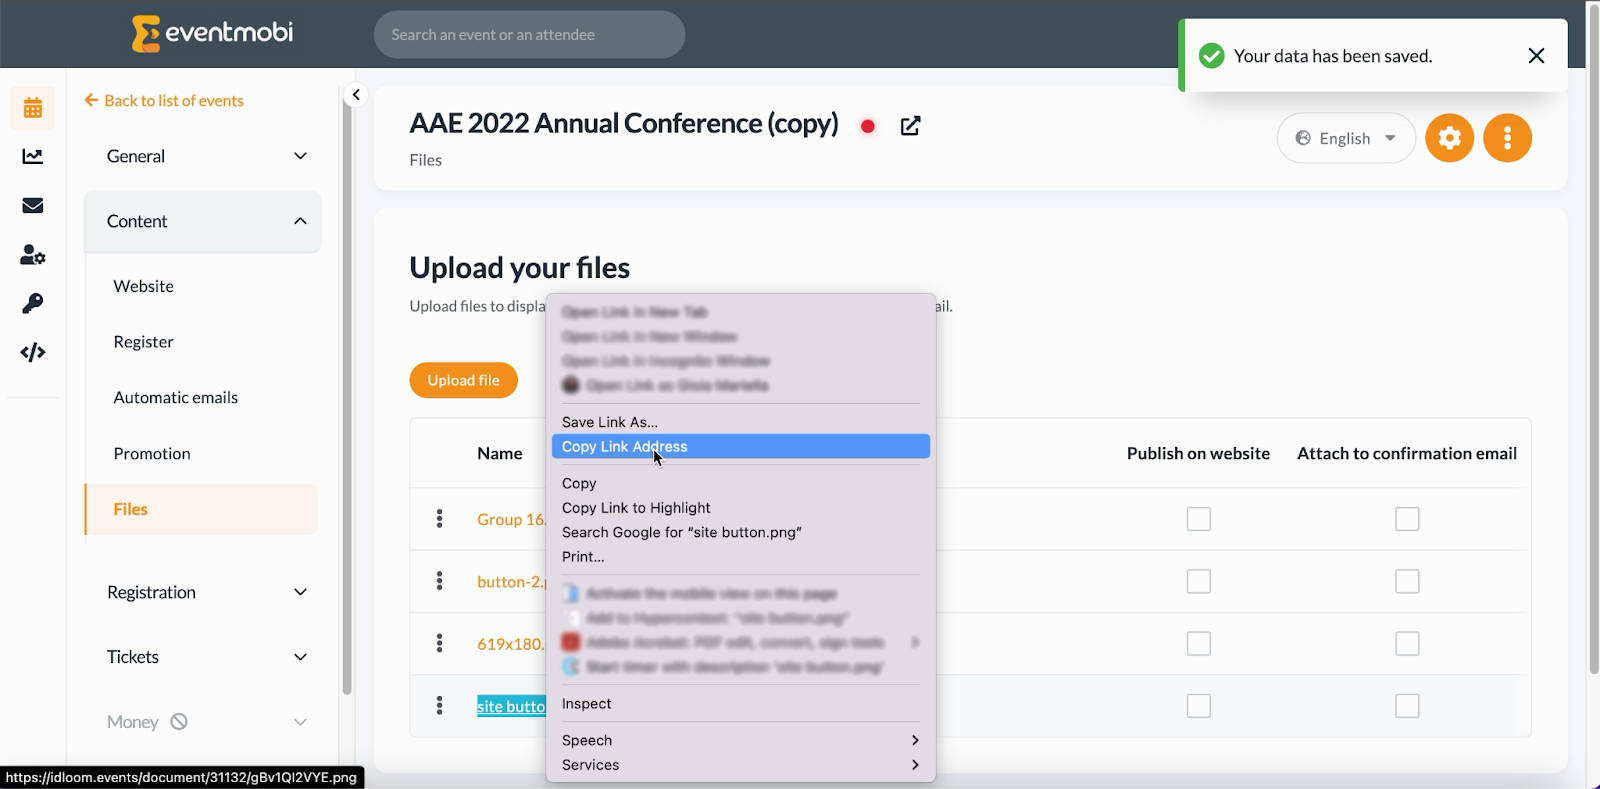
- Right click on the image once it has been uploaded, and select Copy Link Address
- Go to the Rich Text Editor for the page or area that you would like to update, and place your cursor to where you would like to add your image
- Use the Image Icon to add the image URL that was copied from the Files area - if needed, you can also adjust the height and width of the image before saving

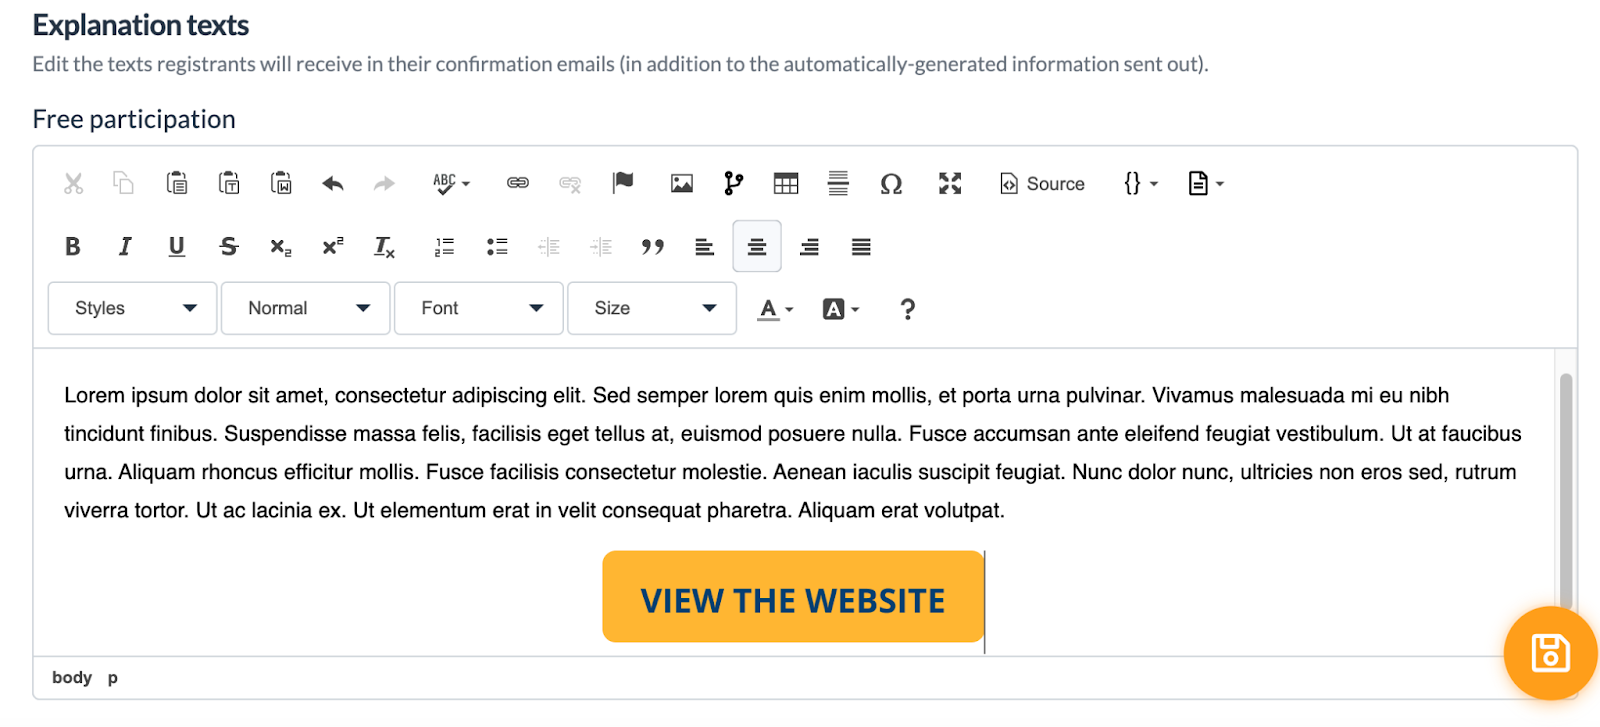
Note: You can ignore the “Lorem Ipsum” text in the preview as it’s just showing you what your image will look like beside a block of text. The image properties will ultimately follow where you have set your cursor within the rich text editor.
Adding a Hyperlink to Your Images
Images can be made into hyperlinks to create a button that will help in guiding registrants to additional sites or information that they will need to access.
Once your image has been added, follow these steps to make it into a hyperlink as well:
- Double click on the image in your rich text editor
- On the pop-up that appears, click on the Link tab
- Input the URL that you would like the image to link to
- Set the Target as needed (i.e. to have the link open in a new tab)
- Select Ok followed by the Save option at the bottom of the page

Adding Images to your Emails
There are two different email types that can be created and used for your EventMobi Registration site, depending on the type of communication that you are looking send. Automatic Emails are those that will be sent automatically once someone has completed registration for your event. Campaign Emails, on the other hand, are used to help you in promoting or marketing the event.
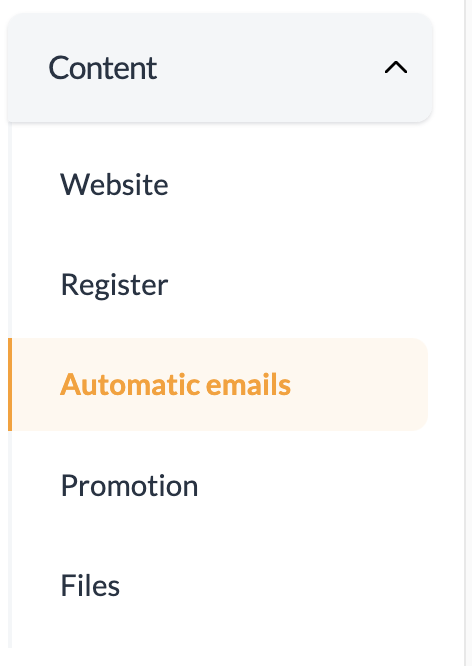
Automatic Emails
Under the Content area of your EventMobi Registration platform you will find an option for Automatic Emails where you can customize the email that will be sent once someone has successfully registered for your event.
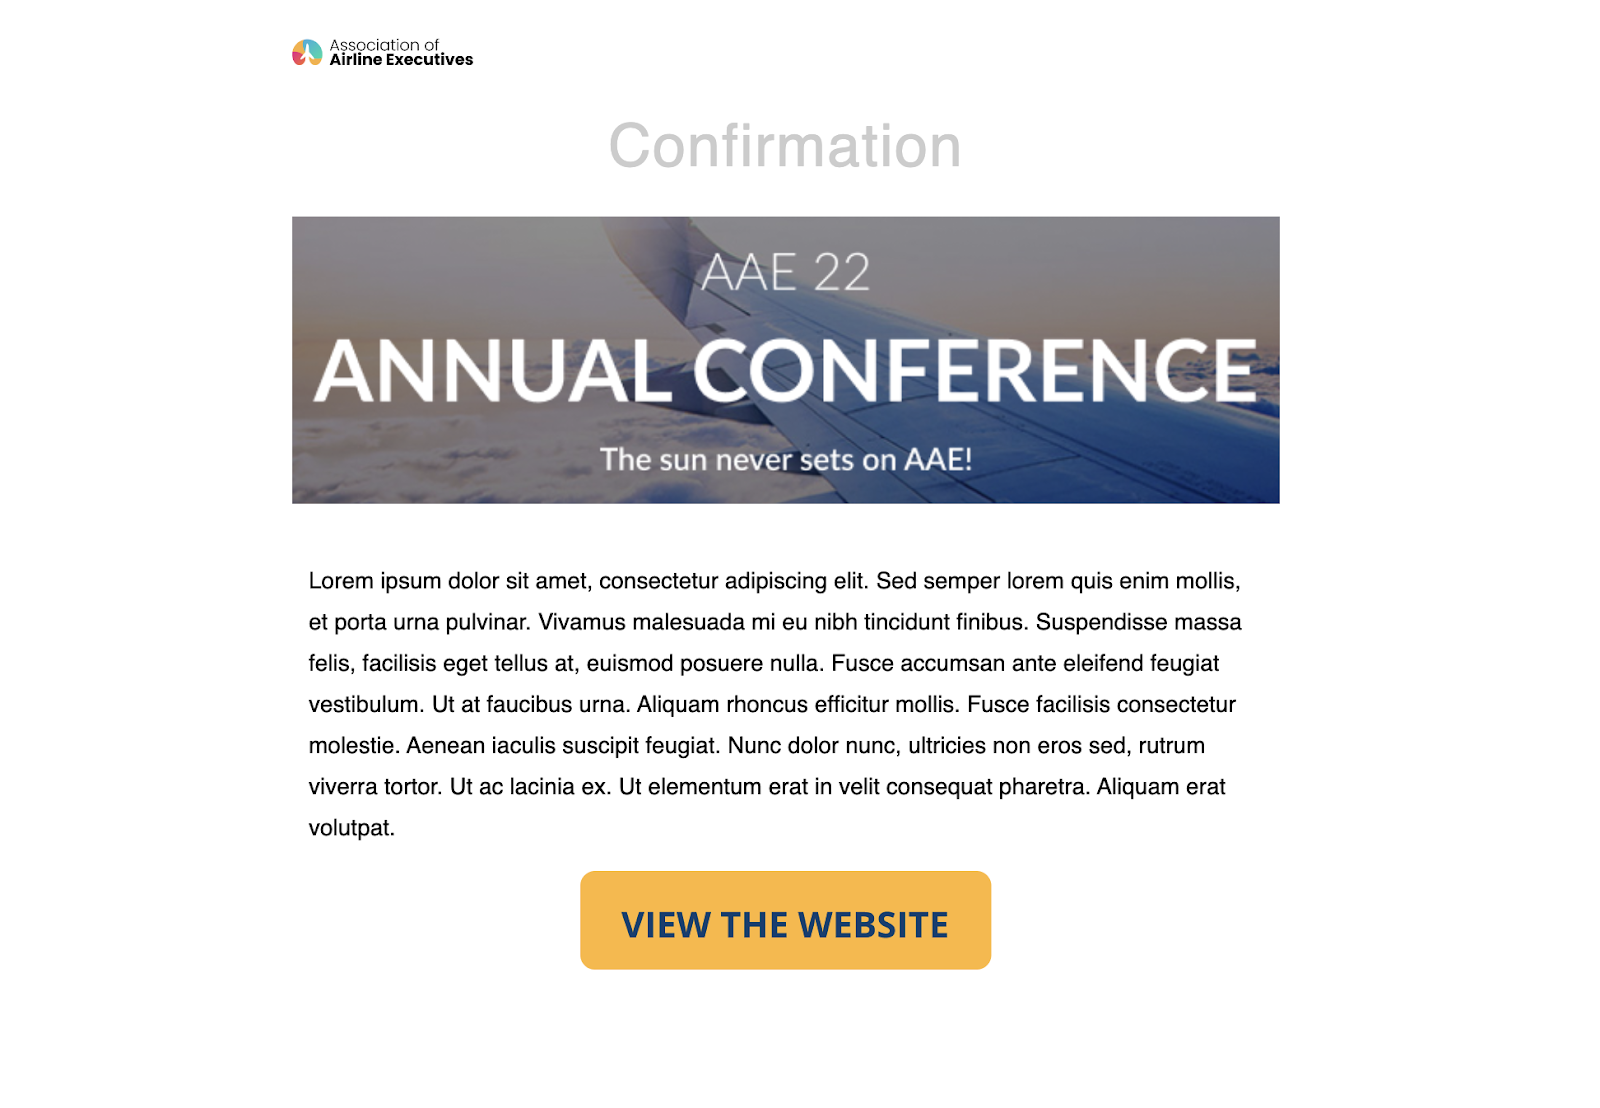
A cover image can be added to act as the Banner of the email message that is sent out. We recommend that you use an image that is 619px by 200px to allow enough space within the email for the title and body to display clearly. This sizing is also ideal for people who may be reading the email using a mobile device.
Note: The recommended height of 200px for your email banner image is flexible, and does not need to be exact. Just keep in mind that the taller your image is, the more space it will take within the email body.
In addition to adding a banner, you can also incorporate images within the rich text editor using an image URL. These images can help to carry over your branding to the email communication you are sending out, or can act as button when hyperlinked.
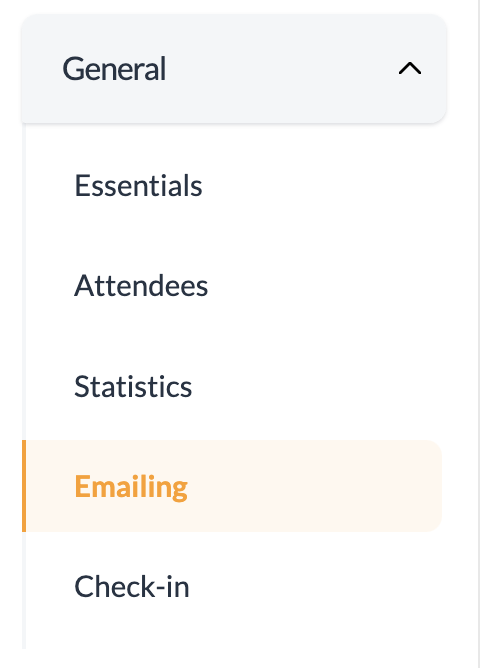
Campaign Emails
Under the General area, you will also find an option for Emailing where your Campaign Emails can be created and managed. This email type is used to send out communications that will help to market your event and increase your registration numbers.
All of the same principles will apply when it comes to incorporating images into your email body. Just make sure to save your changes and set your campaign email date so that attendees receive your formatted email!