![]()
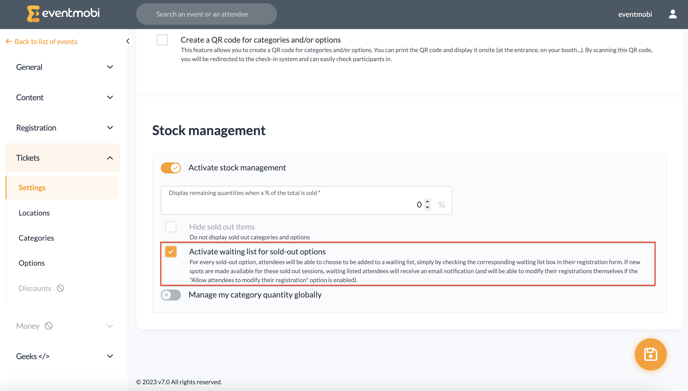
To activate a Waiting List for your event, navigate to Tickets > Settings. Under Stock Management, select the option to "Activate waiting list for sold-out option".
Note: The Waiting List option is only available for Ticket Options, and will not be available for Categories.
To ensure that the Waiting List functions correctly, it is important to set a quantity for your options.
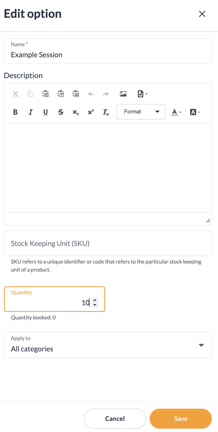
The Waiting List option will appear on the registration site only when one of the options no longer has available space.
Note: The waiting list will not work if you manually mark the session as sold out.
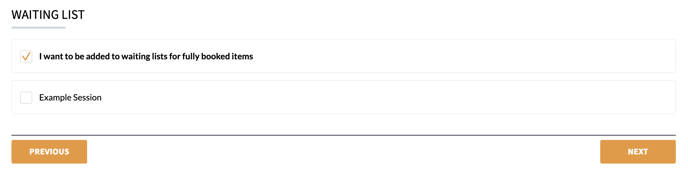
In the Tickets area, a new checkbox will appear at the bottom stating, "I want to be added to waiting lists for fully booked items."
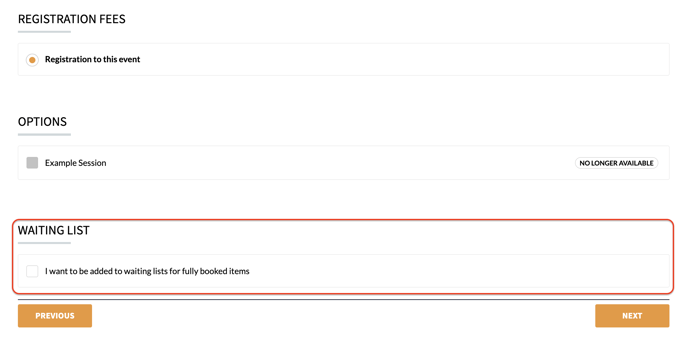 After clicking on the checkbox, you will see the options that are fully booked and can apply for the Waiting List.
Communication
After completing your registration, you will receive an email notification once a space becomes available.
Please note that this email is not sent immediately after a spot opens up, and it does not take into account when attendees joined the waiting list.
If a space becomes available for any option, an email will be sent out at 12am CET (6pm EST) to all attendees on the waiting list. This email will inform them that a spot has opened up, but it will not specify which option. To secure the spot, attendees must click on the modify link in their email or on the home page and select the desired option. Please note that available spots are given on a first-come, first-served basis.
Note: To enable attendees to do this, you must activate the Modify option under the registration settings.
Under the Automatic Emails section, you can modify and adjust the email that will be sent out. The standard message is:
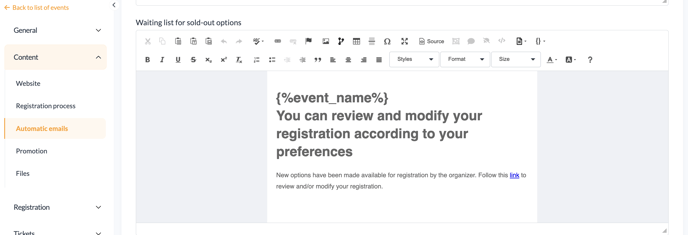
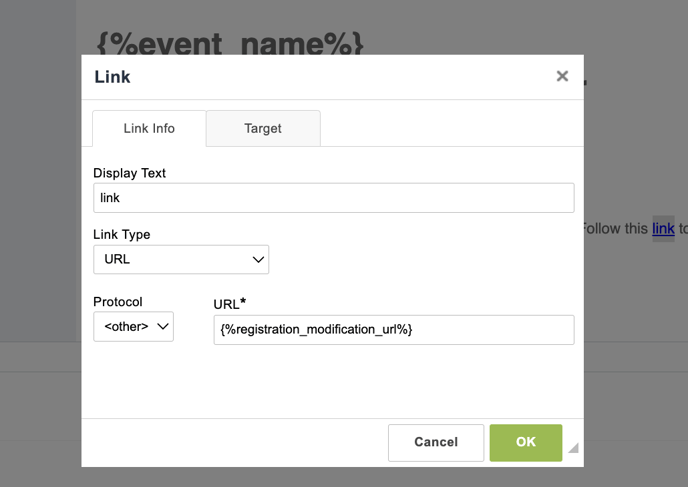
Note: We recommend keeping the predefined Link in the email message as it will automatically redirect the attendee to modify their registration. If you accidentally cancel it, you can always add it back by hyperlinking a word, as shown in the screenshot, and using the code: {%registration_modification_url%}
Reporting
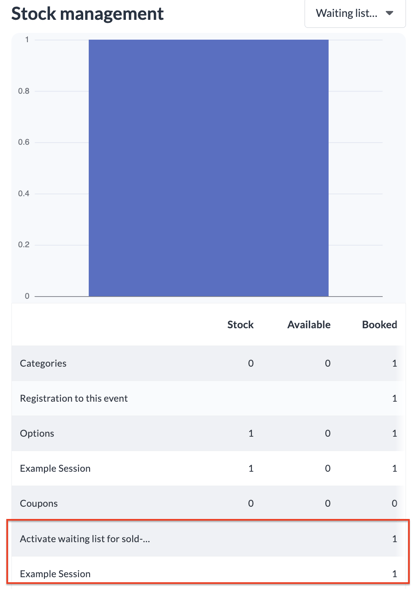
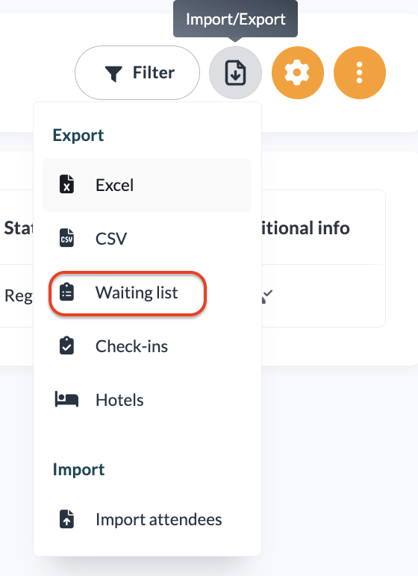
You can check the Waiting List status of attendees for sold-out options at any time. To do so, either export the information from the attendees area or view the statistics page.
To export the Waiting List, go to the attendees area and select that option.
If you only want to see an overview, you can check the Statistics section. Under Stock Management, you can select the filter for the Waiting List.
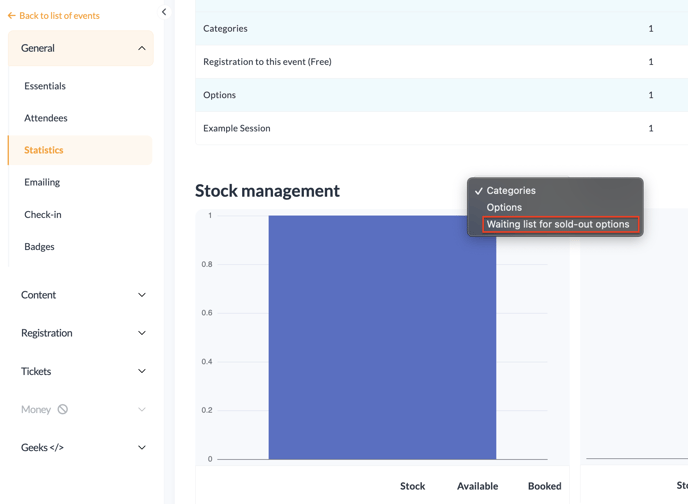
At the bottom of that specific area, it will display the total number of applied Waiting Lists and the corresponding options.