![1589391206704.png]](https://help.eventmobi.com/hs-fs/hubfs/1589391206704.png?width=40&height=40&name=1589391206704.png)
Table of Contents:

By clicking the predefined field, you can choose to activate it and/or set it as mandatory. Mandatory fields will prevent the attendee from continuing in the registration process until the field is updated.
🔍 Note: The Email address field cannot be deactivated.

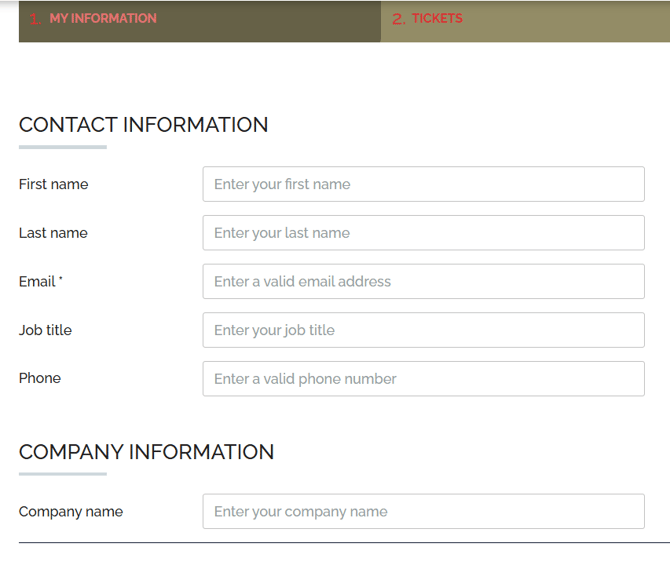
Any fields that have been activated will then display on the registration page.
Customizing Predefined Fields
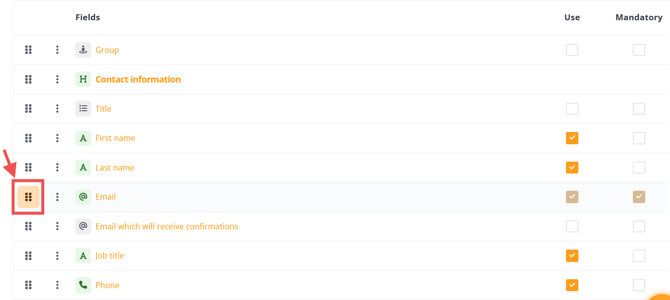
To reorder registration fields:
- Click the six-dot icon next to the field.
- Drag and drop it into the desired position.
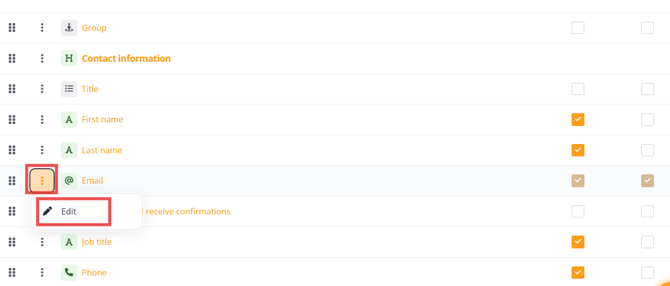
To edit a field’s settings:
- Click the three-dot menu next to the field.
- Select Edit.
Fields that should not be deleted or recreated
The following predefined fields are critical to the integration between the registration site and the Event App. Do not delete or recreate these fields.
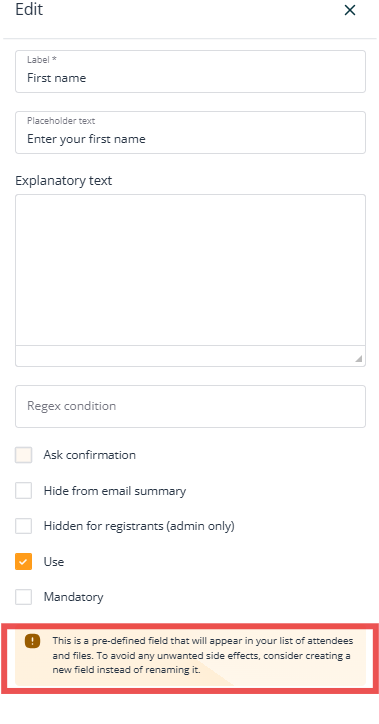
- Email address — Synced to the attendee profile in the Event App. This is the most important field, as it enables attendees to log in to the Event App.
- First name: Synced to the attendee profile in the Event App.
- Last name: Synced to the attendee profile in the Event App.
- Job title: Synced to the attendee profile in the Event App.
- Company: Synced to the attendee profile in the Event App. See more in this article
- Country: Required for tax settings conditions . See more in this article
- State: Required for tax settings conditions. See more in this article
- VAT Nr: Required for tax settings conditions. See more in this article
Syncing & Mapping Fields
When creating registration fields, you can choose whether the captured data should be synced to a field within the People profile in Experience Manager.
To configure field mapping:
- Open a field for editing.
- Use the mapping dropdown to select one of the following options:
-
- Do not map field — Prevents the field’s data from syncing to Experience Manager.
- Create new custom field — Creates a new field in Experience Manager and syncs the data.
- Custom field — Syncs data into an existing custom field already created in Experience Manager.
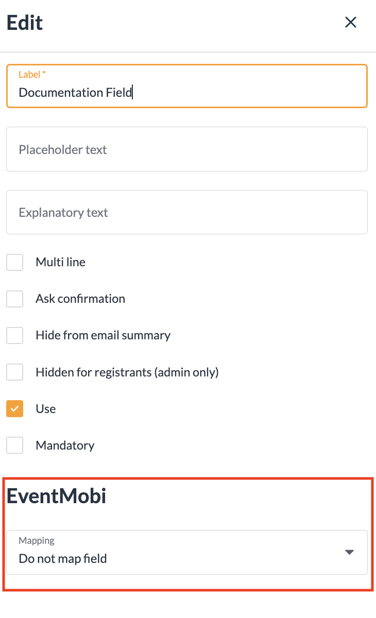
🔍 Note: Selecting Create new custom field means deleting the registration field will also delete it from Experience Manager. Selecting Custom field will not delete the field from Experience Manager if the registration field is removed.
Adding Free Fields
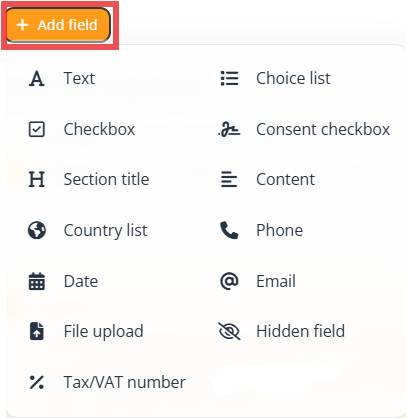
You can add free fields to your registration form to collect additional information from registrants. Click Add field to view and select from the available field types.
You can also add Free Fields to your registration form to collect additional information from registrants. Click “Add field” to view and select from the available field types.
Fields Requiring Confirmation
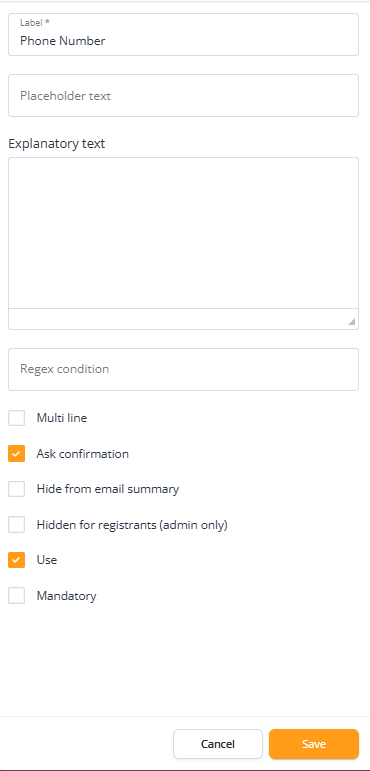
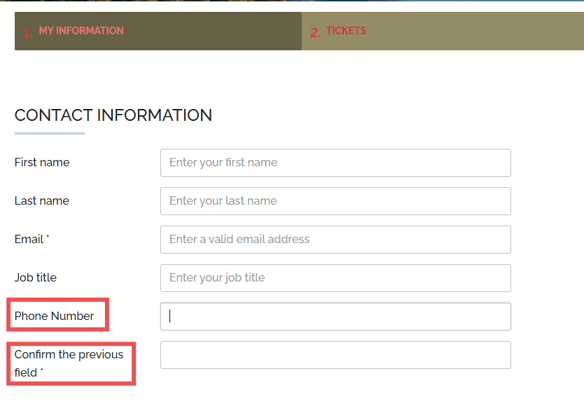
Confirmation-required fields are registration questions or data collected where the attendee needs to re-confirm the details they had entered initially. These are useful when there is a need to have a registrant explicitly ensure what they have inputted is correct.
🔍 Note: Fields requiring confirmation (e.g., phone number) must be added as a text field with the form field, with the 'Ask Confirmation' option enabled.